Do you want to show Google, Facebook, or Yelp reviews in WordPress?
Customer reviews encourage people to trust your website and buy from your business. There are lots of third-party sites where potential customers can see your reviews, but it’s also a good idea to show this content on your own website.
In this article, we will show you how to display business reviews from Google, Facebook, and Yelp in your WordPress site.

Why You Should Display Business Reviews in WordPress
There are lots of different websites where customers can review your company such as Google, Yelp, and Facebook. However, potential customers will need to visit these third-party websites in order to see the reviews.
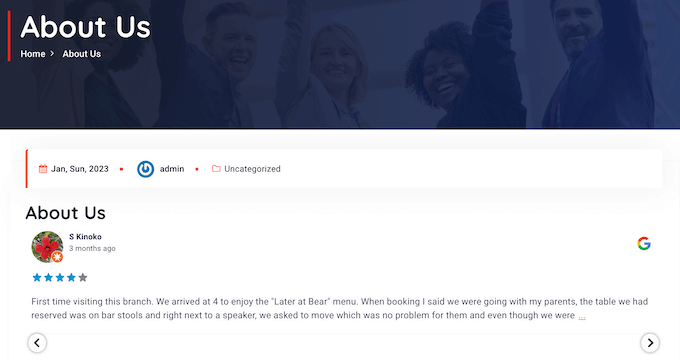
With that being said, it’s a good idea to add Google, Yelp, and Facebook reviews to your WordPress website so that everyone can see them. For example, you might show positive reviews on your WooCommerce product pages, or your About Us page.
These reviews can convince customers to trust your company, even if they haven’t bought from you before.
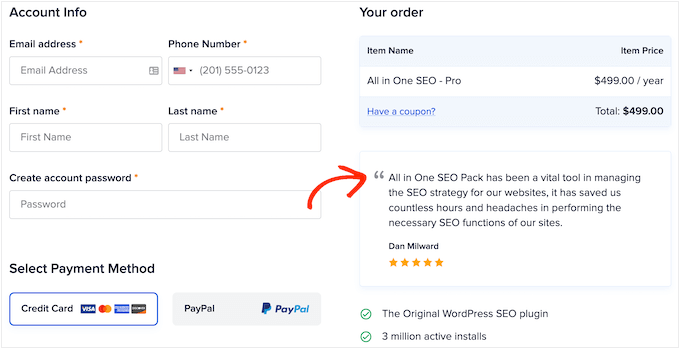
You can even use reviews to reduce your cart abandonment rates, by adding them to your custom WooCommerce checkout page.
With that said, let’s see how you can easily add Yelp, Google, and Facebook reviews to WordPress. Simply use the quick links below to jump straight to the platform you want to use.
- How to Show Google, Facebook, and Yelp Reviews in WordPress
- Method 1. How to Show Yelp Reviews in WordPress
- Method 2. How to Show Google Reviews in WordPress
- Method 3. How to Show Facebook Reviews in WordPress
- Customizing Your Google, Facebook, or Yelp Review Feed
- How to Add Reviews on Your WordPress Website
How to Show Google, Facebook, and Yelp Reviews in WordPress
You could simply copy and paste the best reviews into your site, and then show them using a customer review plugin. However, depending on the plugin you use, you may need to add new reviews manually, which can take a lot of time and effort.
There will also be a delay between customers posting on sites like Yelp and Facebook, and those reviews appearing on your WordPress website.
With that in mind, it’s a good idea to create a review feed that updates automatically using the Reviews Feed Pro plugin.
This single plugin allows you to show reviews from all the biggest review platforms.
It also comes with pre-designed templates, so you can display your reviews in different layouts including showcases, carousels, grids, and more.
The Reviews Feed automatically copies your website’s design so the reviews look like a natural part of your website, rather than content embedded from another platform.
First, you’ll need to install and activate the plugin. If you need help, then please see our guide on how to install a WordPress plugin.
Upon activation, click on Reviews Feed in the left-hand menu. You can then add your Reviews Feed Pro license key and click on the ‘Activate’ button.
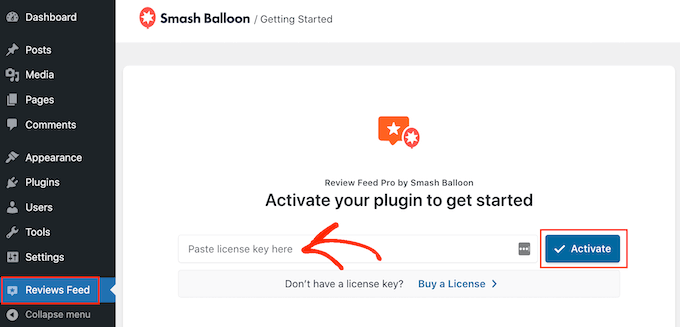
You’ll find the license key under your account on the Smash Balloon website.
After activating the plugin, you’re ready to show reviews from Google, Facebook, or Yelp.
Method 1. How to Show Yelp Reviews in WordPress
Yelp is a popular website where visitors can review restaurants, brands, services, products, and more.
If your business already has some positive Yelp reviews, then adding them to your website can get you more sales, members, appointments, and more.
If you don’t already have a Yelp account, then you can claim your Yelp business page.
Since Yelp is a public site, you can show reviews from any business that has a Yelp listing. For example, if you own a business listing blog or membership site, then you could show Yelp reviews for different local businesses on your website.
To add reviews to your website, you’ll need to create a Yelp API key. Simply go to the Yelp Developers page and type in your email address.
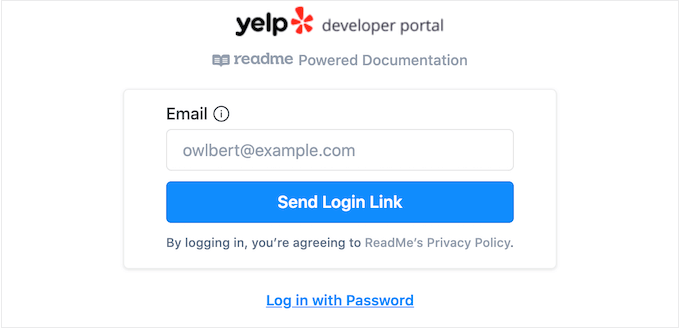
Then, click on the ‘Send Login Link’ button.
Note: If you don’t already have an account, then go to the Yelp signup page and follow the onscreen instructions to register.
After a few moments, Yelp will send a one-time login link to your email address. Simply open the email and use the ‘Click to Log in’ button.
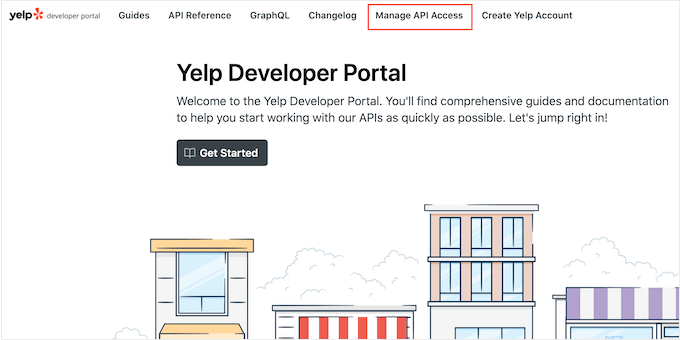
This takes you to the Yelp Developer Portal.
In the toolbar, click on Manage API Access.
On this screen, type a name for your Yelp app into the ‘App Name’ field. This is just for your reference so you can use anything you want.
After that, open the ‘Industry’ dropdown and choose the industry that best reflects your website or business.
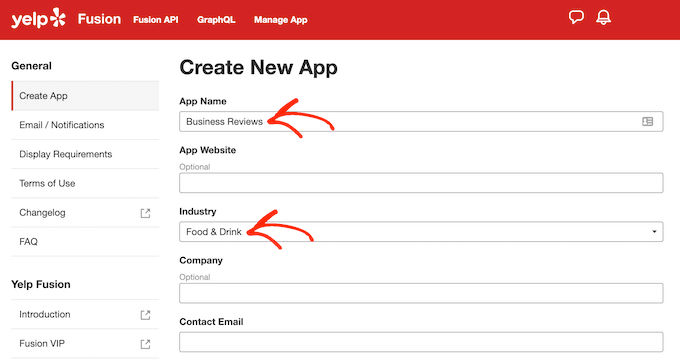
After that, type in your email address and add a description.
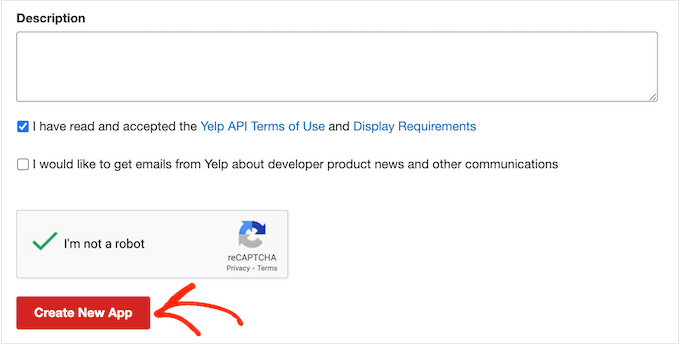
With that done, read the terms and conditions. If you’re happy to go ahead, then check the terms and conditions box, decide whether you want to get email updates from Yelp, and pass the captcha.
Finally, click on the ‘Create New App’ button.
After a few moments, you’ll see the following message ‘Great, your app has been created! Check your App ID and API Key below.’
You’ll need to add this information to your WordPress website.

Simply go to Reviews Feed » Settings in the WordPress dashboard.
Then, scroll to Manage API Keys and click on the small pencil icon next to ‘Yelp.’
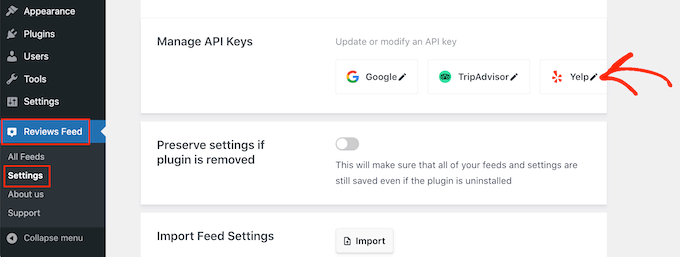
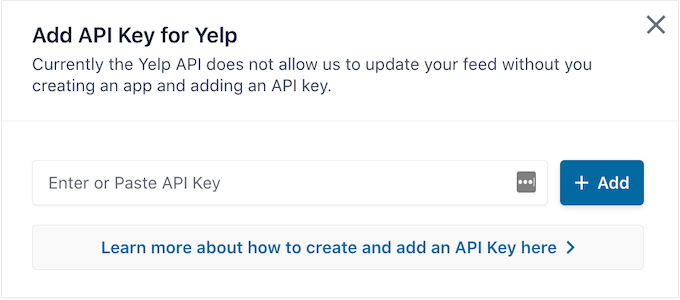
In the popup, add your Yelp API key.
Then, click on the ‘Add’ button.
With that setup out of the way, you’re ready to add Yelp reviews to your website.
Simply go to Reviews Feed » All Feeds. Then, click on the ‘Add New’ button.
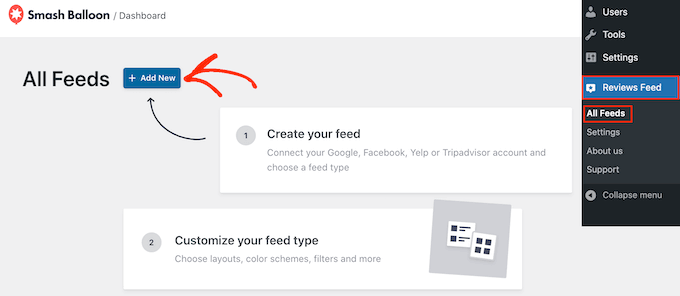
On the next screen, click on ‘Add New’ again.
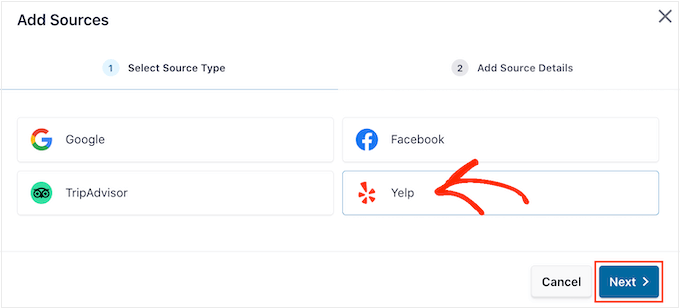
In the popup that appears, select ‘Yelp’ and then click on the ‘Next’ button.
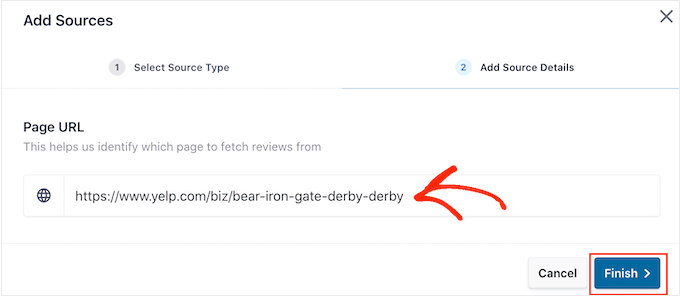
You can now add the URL of the Yelp page that you want to use. This can be a page that you own or any public third-party page.
After that, click on ‘Finish’.
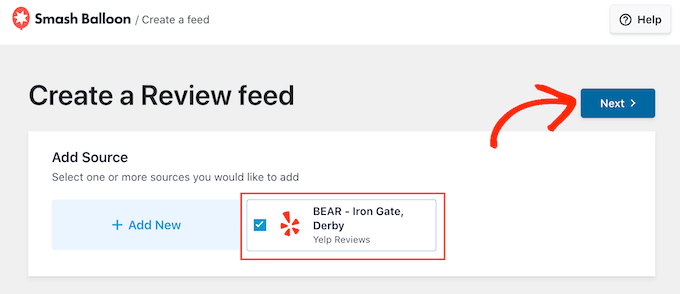
Smash Balloon will now show this Yelp page as a possible source.
To go ahead and create the feed, simply check the box next to the Yelp page and then click on ‘Next.’
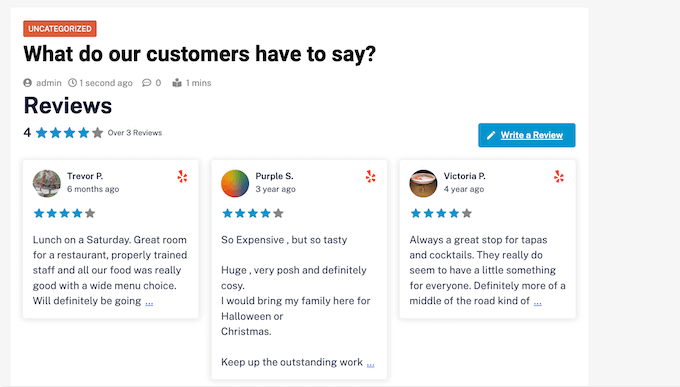
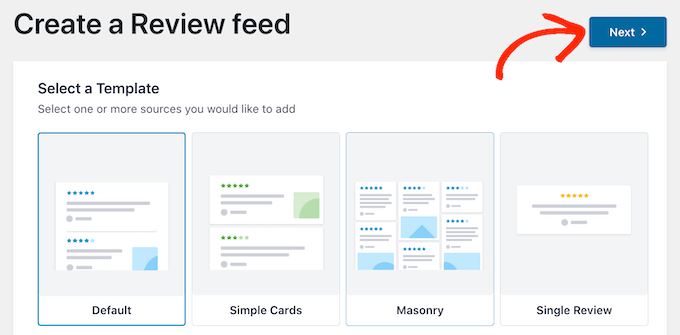
You can now choose a template to use for the review feed, such as a showcase carousel, grid carousel, or even a single review template.
After choosing a design, click on the ‘Next’ button.
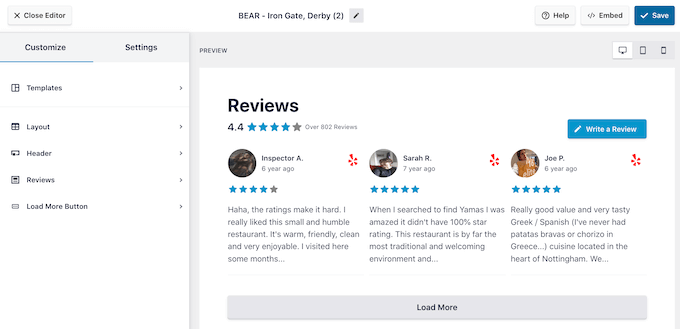
Smash Balloon will now show the Yelp review feed in its editor, ready for you to fine-tune.
For instructions on how to customize the feed and then add it to your site, skip to the end of this guide.
Method 2. How to Show Google Reviews in WordPress
Google Reviews is another place where customers can review your business online. Once again, positive reviews are important for building trust and getting conversions, but these reviews can also affect where your site appears in the search results.
Lots of positive Google reviews and high rankings may improve your business’s search ranking, especially in local search results.
Google also shows your reviews on relevant search engine result pages.
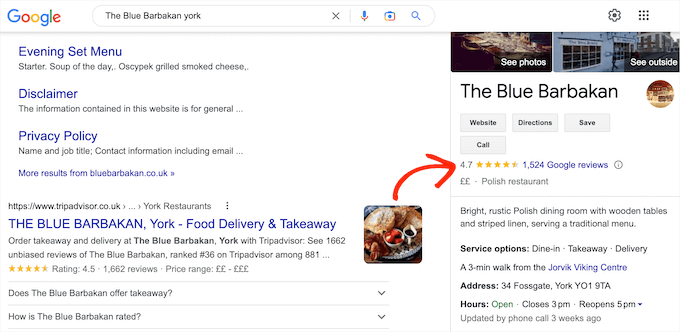
By adding these reviews to your website, you can encourage people to visit your Google listing and leave you a positive review.
This may improve your WordPress SEO and the overall star rating that appears in relevant search engine results.
With that being said, let’s see how you can add Google reviews to your WordPress website.
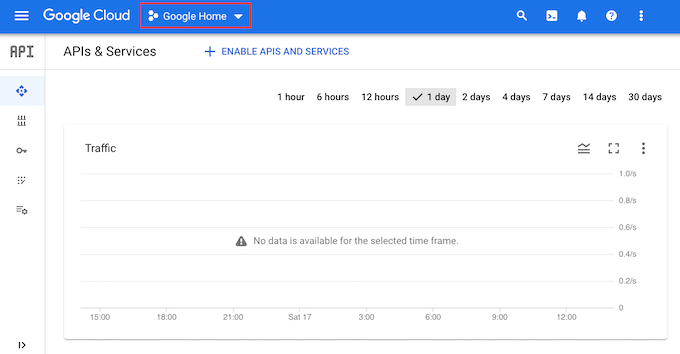
To start, you’ll need to create a Google API key, so head over to the Google Console and sign in using your Google account.
Once you’re logged into the console, click on ‘Google Home.’
If you’re logging into the Google Console for the first time then you’ll need to accept the terms and conditions.
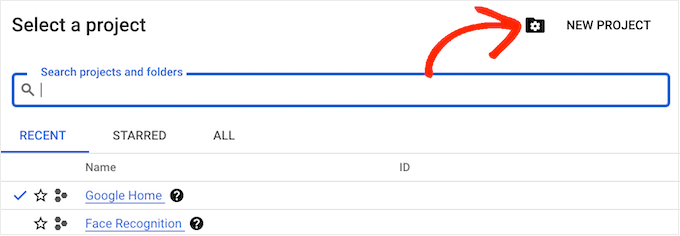
With that done, click on ‘New Project.’
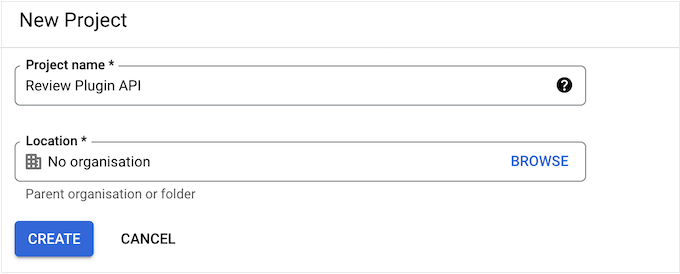
You can now type in a name for the project. This is just for your reference so you can use anything you want.
Once you’ve done that, click on the ‘Create’ button.
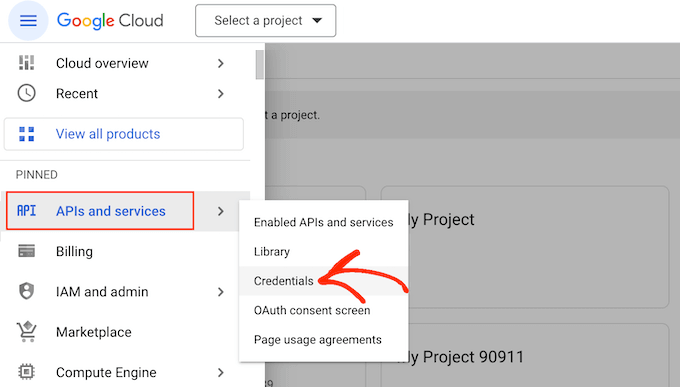
After that, click on the lined icon in the upper-left corner to open the menu.
In the menu, select ‘APIs and services’ and ‘Credentials.’
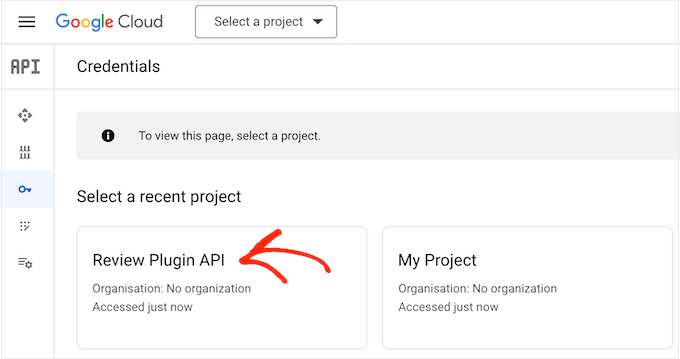
You will now see all your Google projects.
Simply find the project we just created and give it a click.
In the search field, start typing ‘Places API.’
When the right API appears, give it a click.

This takes you to a screen where you can activate the key for making Places API requests.
To do this, simply click on the ‘Enable’ button.

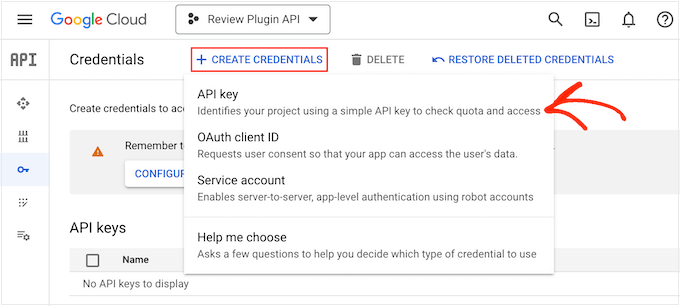
With that done, press the backwards arrow to return to the main Google Cloud Console dashboard. Here, click on ‘Create Credentials.’
Go ahead and select ‘API key’ from the dropdown menu.
After a few moments, you’ll see an ‘API key created’ popup.
You’ll need to add this information to your WordPress blog or website, so make a note of it.
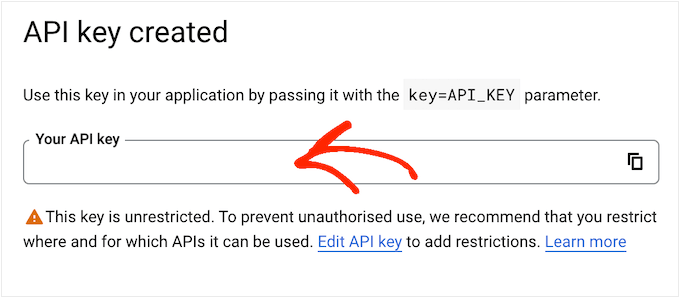
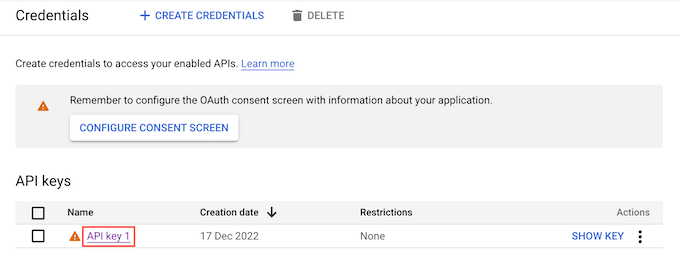
By default, all of Google’s API keys are unrestricted. To stop other people from using the API key, you’ll need to restrict it by clicking the ‘Edit API Key’ link inside the popup.
This opens a screen showing all your Google API keys. Simply find the key you just created, and give it a click.
Note: If you closed the popup by accident, then don’t worry. You can reach the same screen by selecting ‘Credentials’ in the left-hand menu.
Under ‘Application restrictions,’ click on ‘HTTP referrers (websites).’

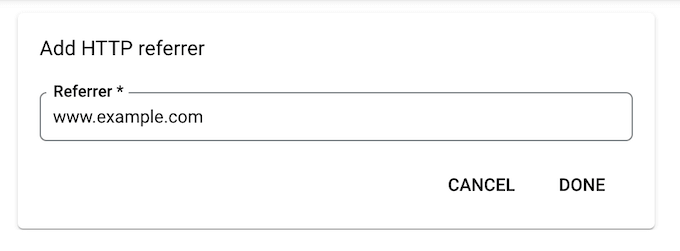
Under ‘Website Restrictions,’ click on ‘Add.’
You can now type in the address of your WooCommerce store or WordPress website, and then click on ‘Done.’
To make sure Smash Balloon can access the Places API, you’ll also need to type in www.googleapis.com and click on ‘Done.’
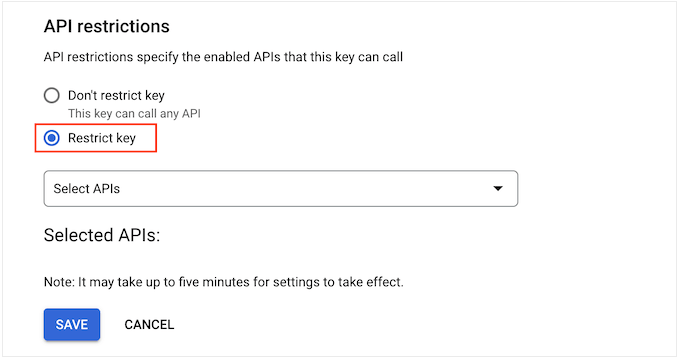
Under ‘API restrictions,’ select the button next to ‘Restrict key.’
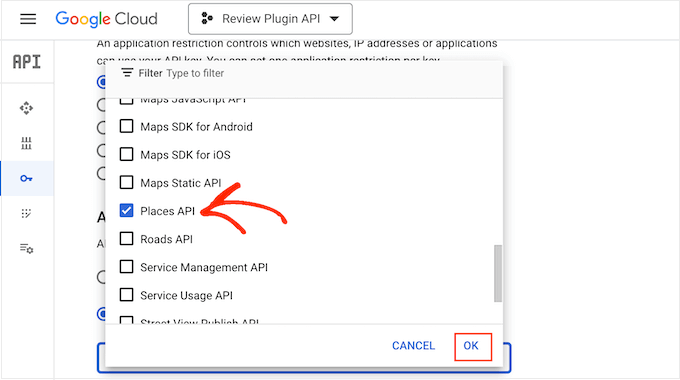
With that done, click on the ‘Select APIs’ dropdown menu and check the box next to ‘Google Places API.’
Now we’re ready to click on ‘OK.’
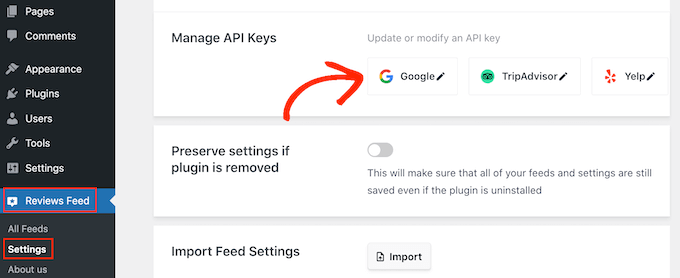
The next step is adding the API key to your site. In the WordPress dashboard, go to Reviews Feed » Settings.
Under ‘Manage API Keys,’ click on the pencil icon next to ‘Google.’
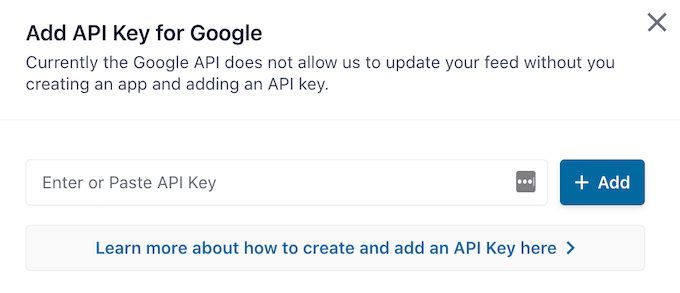
In the popup, add your Google API key.
After that, click on the ‘Add’ button.
Now you’ve added an API key, you’re ready to create a feed showing all your Google Reviews.
To do this, go to Reviews Feed » All Feeds, and click on the ‘Add New’ button.
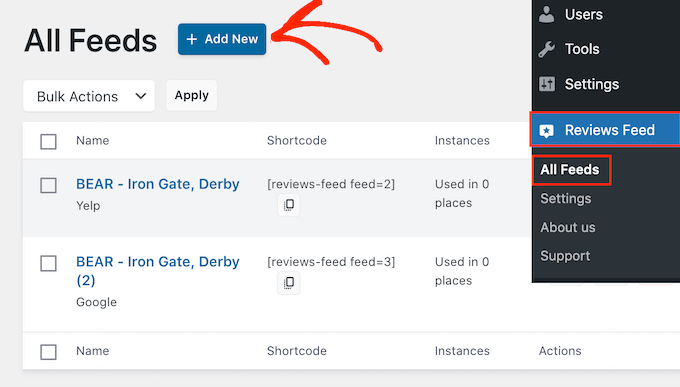
On the next screen, click on ‘Add New.’
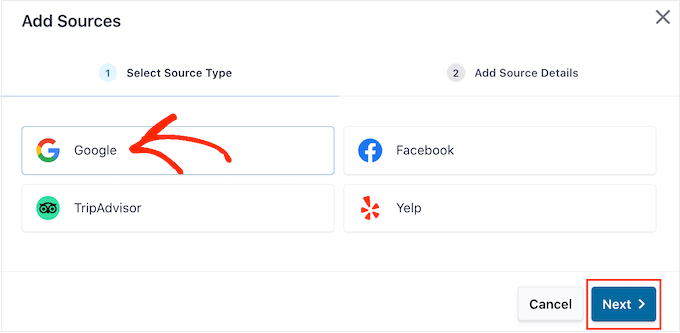
In the popup that appears, click on ‘Google’ and then select ‘Next.’
Now you’ll need to enter the Place ID of the cafe, restaurant, or other venue that you want to use in your feed.
To get the ID, go to Google’s Place ID page and scroll to ‘Find the ID of a particular place.’
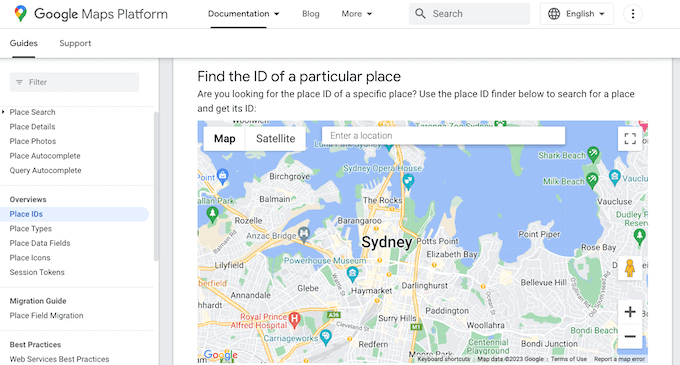
In the Google Maps search bar, start typing the address or name of the place that you want to feature. When the right place appears, give it a click.
Google will now show the place ID in a small popup.
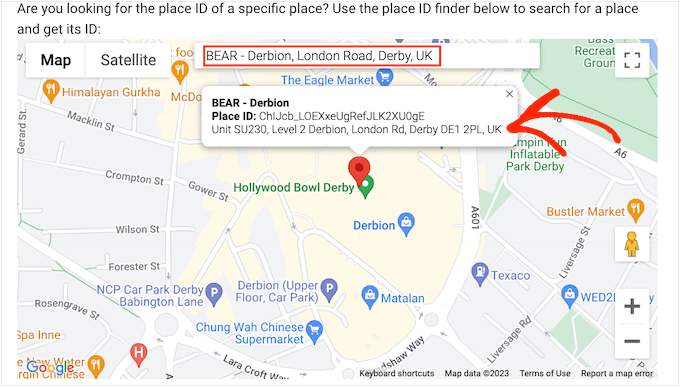
Go ahead and copy the place ID.
Now, switch back to the WordPress dashboard and paste the ID into the ‘Enter Place ID’ field.
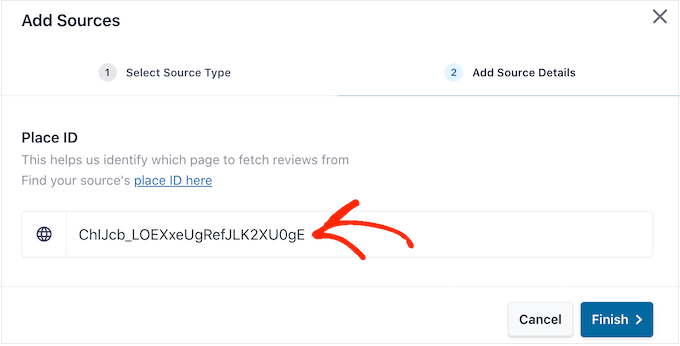
With that done, click on ‘Finish.’
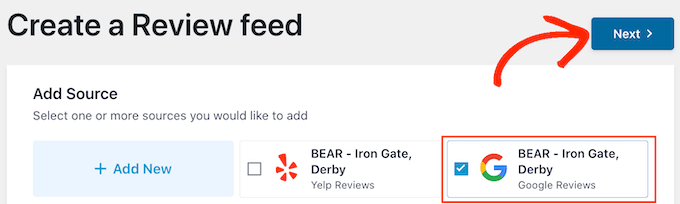
To go ahead and create the feed, you need to check the box next to the Google place you just added, and then click on ‘Next.’
You can now choose the template you want to use for the review feed, and click on ‘Next.’
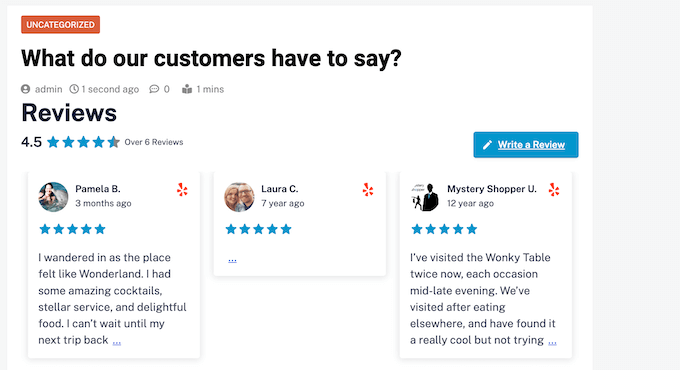
Smash Balloon will now create a feed showing all your Google reviews.
Do you want to change how the feed looks? Skip to the end of this post for a detailed step-step guide on how to fine-tune the Google Reviews feed, and then add it to your website.
Method 3. How to Show Facebook Reviews in WordPress
Many businesses, websites, and online stores use Facebook to connect with their audience. Facebook also has its own built-in review system, so you may want to add these reviews to your website.
Unlike Yelp and Google, your Facebook page belongs to you, so this is also a way to promote your profile and get more social media followers.
To create a Facebook review feed, go to Reviews Feed » All Feeds.
Then, click on the ‘Add New’ button.

On the next screen, click on ‘Add New’ again.
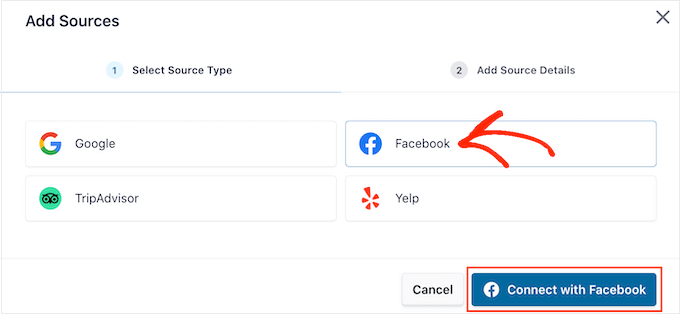
In the popup that appears, click on ‘Facebook’ and then select ‘Connect with Facebook.’
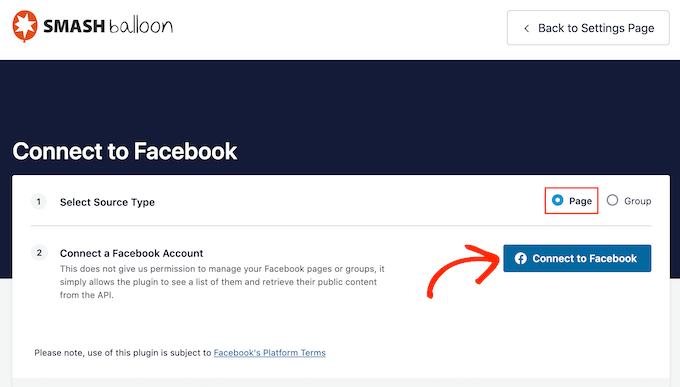
On the next screen, select the radio button next to ‘Page.’
Once you’re done with that, click on ‘Connect to Facebook.’
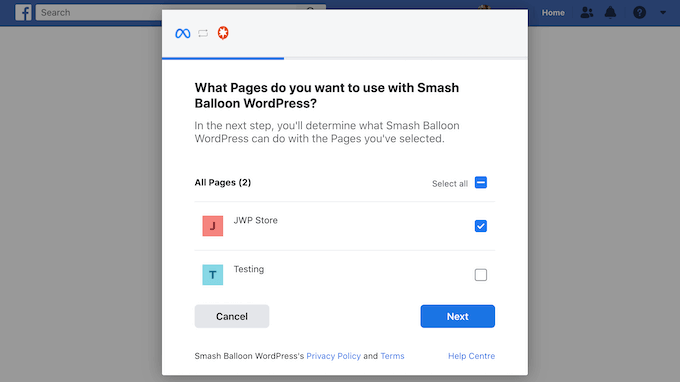
This opens a popup where you can log into your Facebook account and choose the pages where you’ll get the reviews from.
After that, we’re ready to click on ‘Next.’
Facebook will now show all the information that Smash Balloon will have access to and the actions it can perform.
To restrict Smash Balloon’s access to your Facebook page, just click any of the switches to turn it from ‘Yes’ to ‘No.’ However, be aware that this can affect the content that appears on your website.
With that in mind, it’s a good idea to leave all the switches enabled.
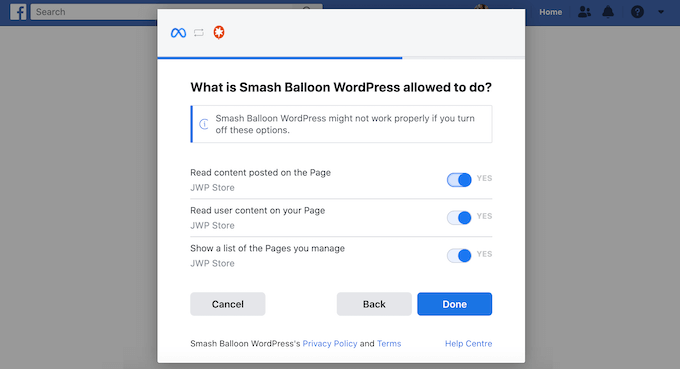
When you’re happy with how the Facebook permissions are set up, click on ‘Done.’
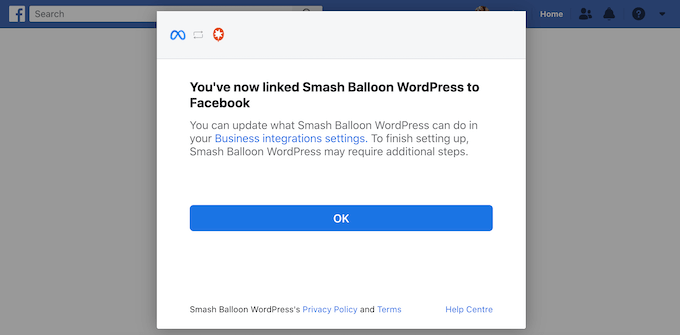
After a few moments, you should see a message confirming that you’ve connected your WordPress website and your Facebook page.
That done, click on the ‘OK’ button.
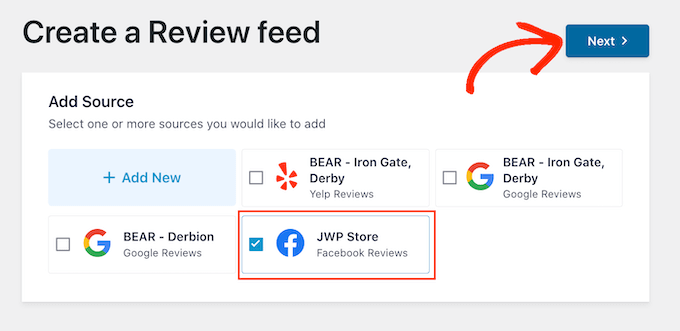
Smash Balloon will automatically take you back to the WordPress dashboard, where you’ll see the Facebook page you just connected to your website.
Simply select the checkbox next to the Facebook page and then click on the ‘Next’ button.
You can now choose the template you want to use for the Facebook reviews feed.
After making the decision, click on ‘Next.’

Smash Balloon will now create a feed showing all your Facebook reviews.
Customizing Your Google, Facebook, or Yelp Review Feed
Smash Balloon automatically copies your WordPress theme so any reviews feed you create will fit perfectly with your site’s design. However, Smash Balloon also has an advanced feed editor so you can fine-tune every part of the feed.
No matter whether you create a feed using Google, Facebook, or Yelp, Smash Balloon will open its feed editor automatically.
Note: If you accidentally closed the editor then don’t panic. Simply go to Reviews Feed » All Feeds in the WordPress dashboard, and then click on the ‘Edit’ icon next to the feed.
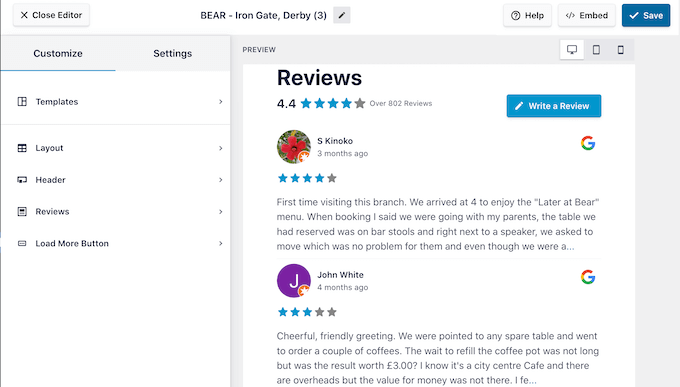
Smash Balloon shows a live preview of your review feed to the right. On the left is a menu that shows the different settings that you can use to change how the feed looks.
To see what changes you can make, start by clicking on ‘Layout’ in the left-hand menu. Here, you can choose from a Grid, Masonry, or Carousel layout.
As you click on the different layouts, the live preview will automatically update to show the new layout. This makes it easy to try different layouts and find the one you prefer.
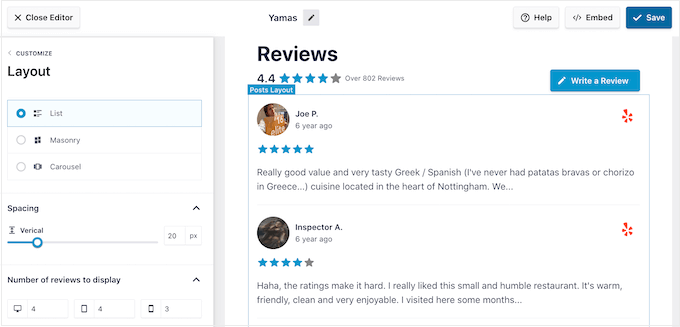
You can also change the spacing, how many reviews you include in the feed, and the number of characters WordPress shows from each review.
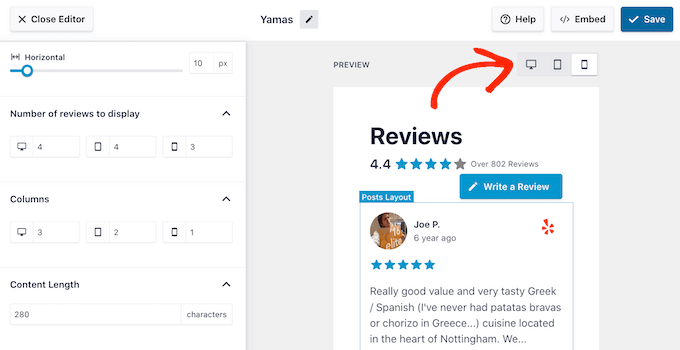
As you make changes, remember that the feed may look different on smartphones and tablets, compared to desktop computers.
With that being said, it’s a good idea to test the mobile version of your feed using the row of buttons in the right-hand corner. In this way, you can create a review feed that looks just as good on smartphones and tablets, as it does on desktop computers.
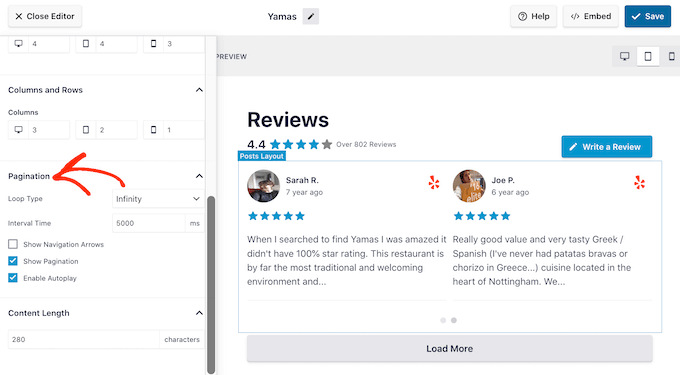
Finally, if you select the Carousel layout then you can change how the reviews scroll using the ‘Pagination’ settings.
For example, you can enable autoplay so the reviews scroll automatically or increase the interval so visitors have more time to read each review.
When you’re happy with these changes, click on the small arrow next to ‘Customize.’
This takes you back to the main Smash Balloon review feed editor.

The next setting you can explore is ‘Header,’ which controls the text that appears at the top of your feed.
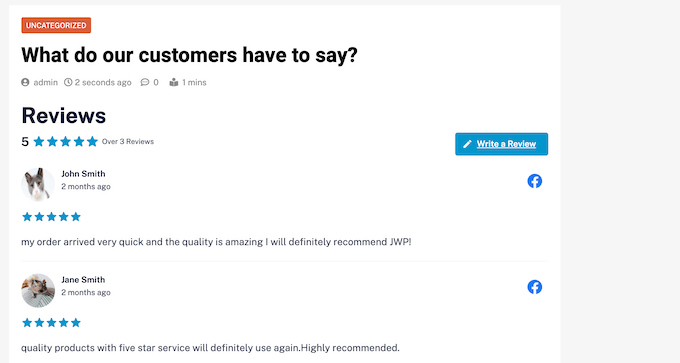
By default, Smash Balloon shows a ‘Review’ headline, your average star rating, and a ‘Write a review’ button.
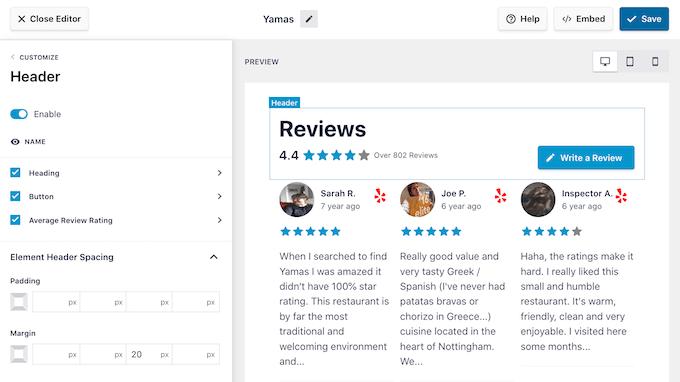
This header helps visitors understand the content, while also encouraging them to leave their own review. However, if you prefer then you can remove the header using the ‘Enable’ toggle.
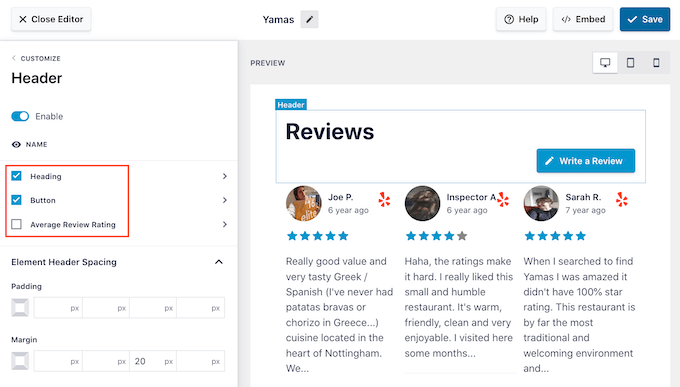
If you do show the header, then you can add or remove content using the Heading, Button, and Average Review Rating checkboxes.
To change the padding and margins, simply use the settings under ‘Element Header Spacing.’
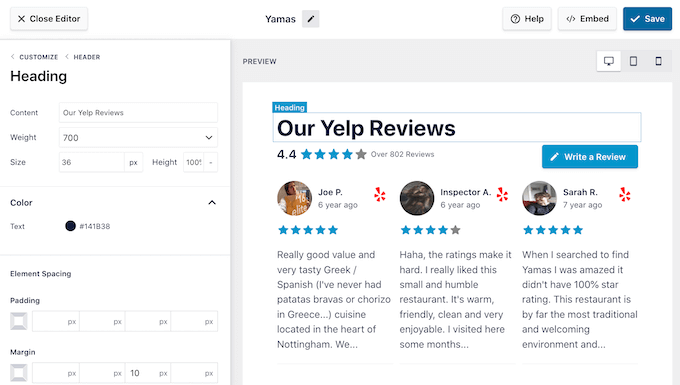
If you want to change any of the text that appears in the header, then simply click on either Heading, Button, or Average Review Rating. This takes you to an area where you can change the text color, size, and more.
You can also replace the standard text with your own custom messaging by typing into the ‘Content’ field.
When you’re ready to return to the main editor screen, just click on the ‘Customize’ link at the top of the left-hand menu.
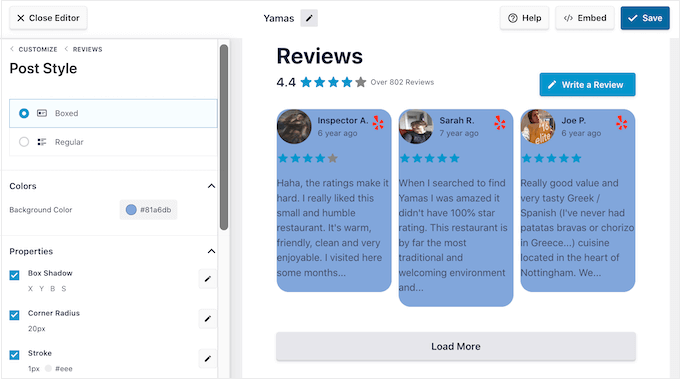
The next setting you can look at is ‘Reviews,’ so give this option a click. Here, you can choose between ‘Post Style’ and ‘Edit Individual Elements.’
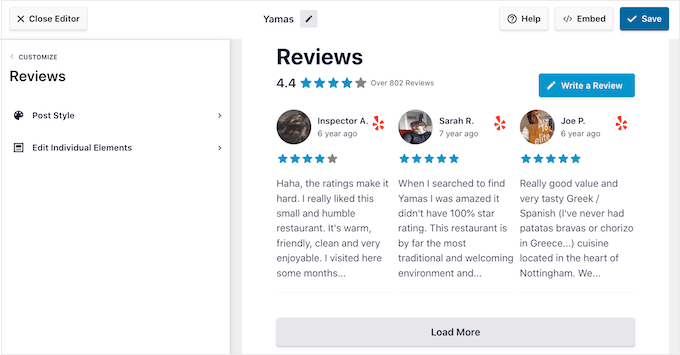
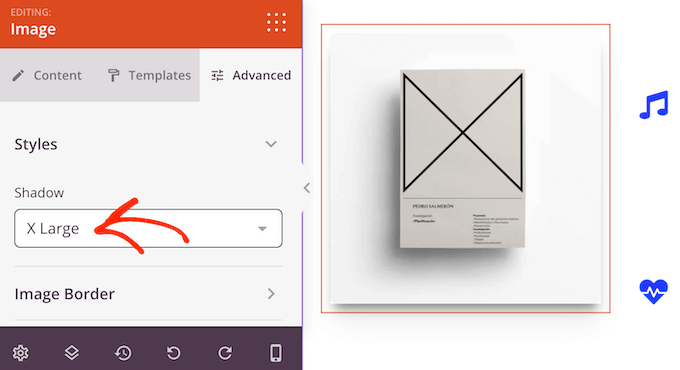
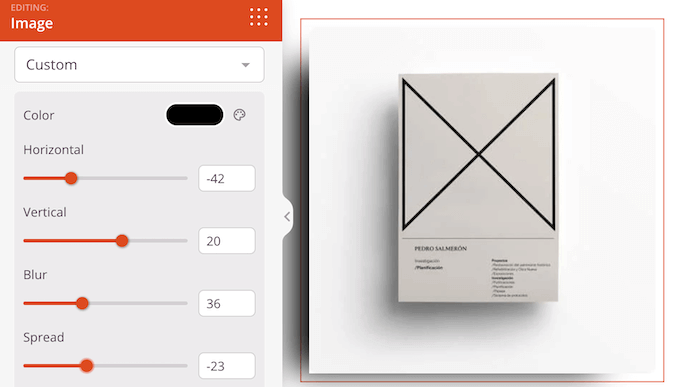
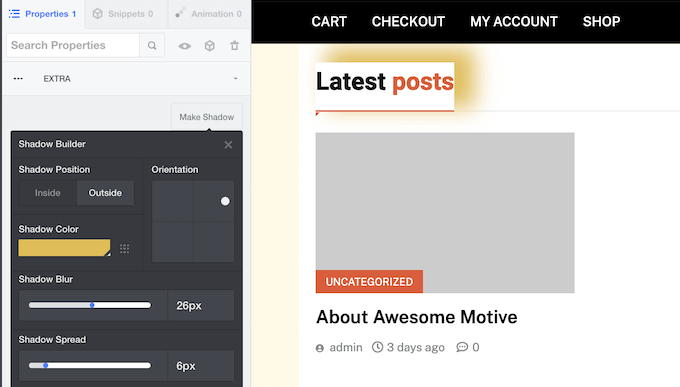
If you select ‘Post Style,’ then you can change how the individual reviews look inside the feed. For example, you can switch to a boxed layout, add a shadow, and change the corner radius to create curved edges.
As you make changes, the preview updates automatically so you can try different settings to see what looks the best on your website.
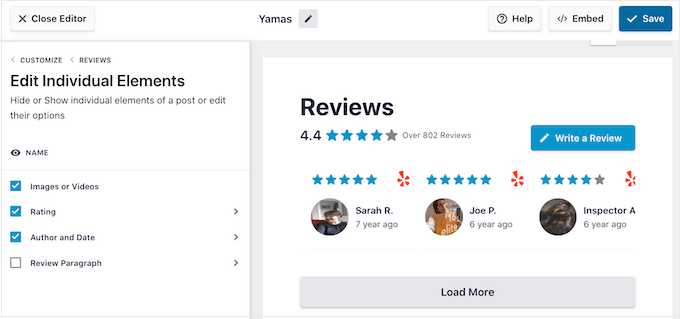
If you choose ‘Edit Individual Elements,’ then you’ll see all the different content that Reviews Feed Pro includes in each review such as rating, author and date, and the review text.
To remove a piece of content, just click to uncheck its box.
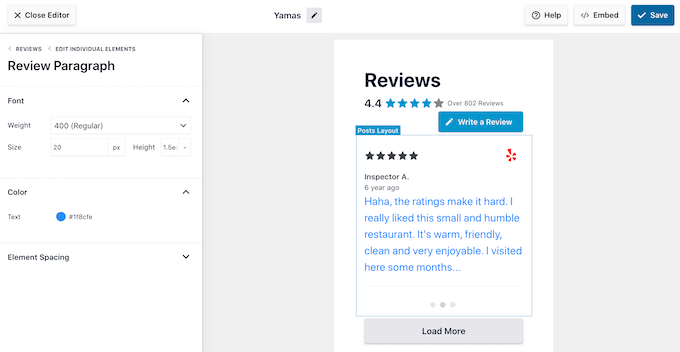
You can also customize how each type of content looks by clicking on it.
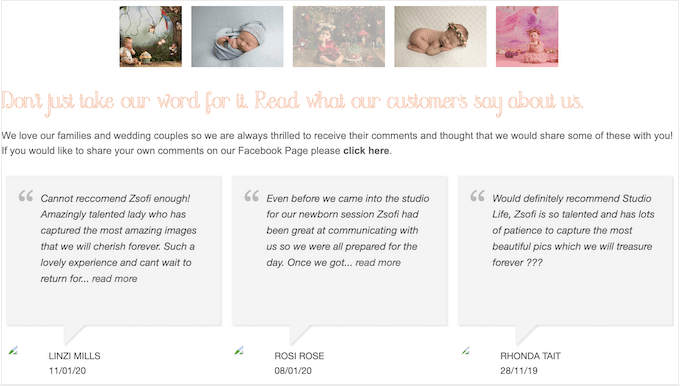
For example, in the following image, we’ve changed the color and size of the review content, known as the ‘Review Paragraph.’
When you’re happy with how the review feed looks, click on ‘Customize’ to return to the main Smash Balloon editor.
You can now move to the next settings screen by selecting ‘Load More Button.’
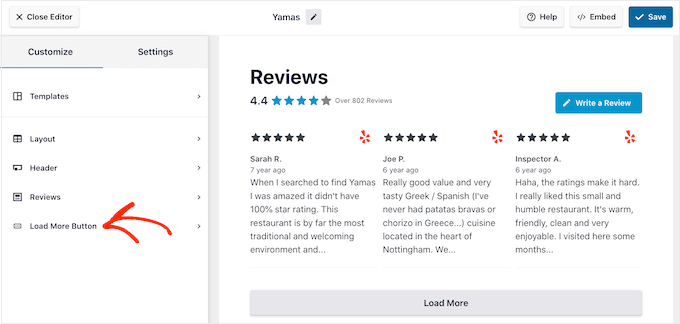
The ‘Load More’ button allows visitors to scroll through more reviews, so the plugin adds it by default. Since it’s such an important button, you may want to help it stand out by changing the background color, hover state, label, margins, and more.
You can also replace the default ‘Load More’ text with your own messaging by typing into the ‘Text’ field.
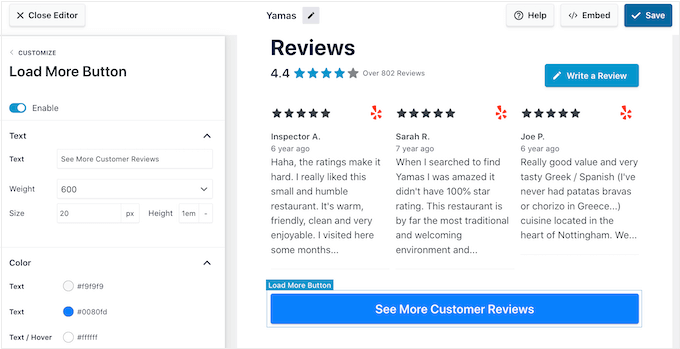
If you prefer, then you can remove the button completely by clicking the ‘Enable’ toggle.
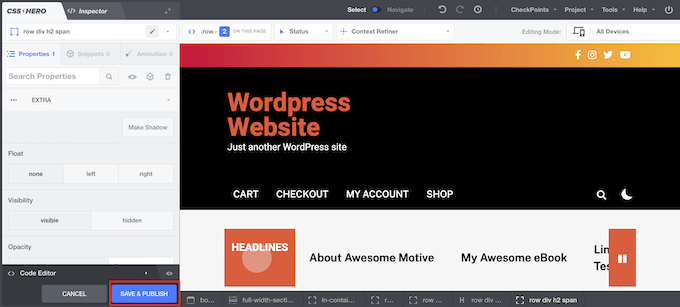
When you’re happy with how the review feed looks, don’t forget to click on ‘Save.’ With that out of the way, you’re ready to add Google, Facebook, or Yelp reviews to your site.
How to Add Reviews on Your WordPress Website
Now you can add the review feed to your site using a block, widget, or shortcode.
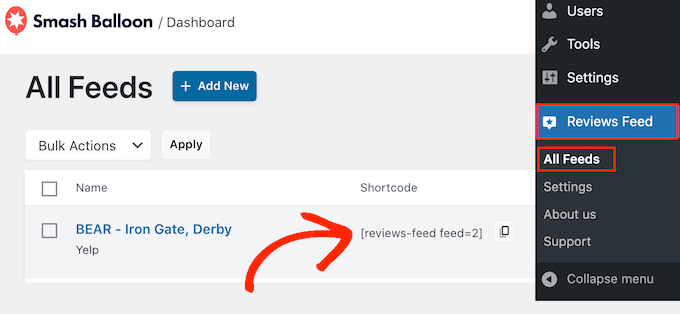
If you’ve created more than one feed using Reviews Feed Pro, then you’ll need to know the feed’s shortcode if you’re going to use a widget or block.
To get this information, go to Reviews Feed » All Feeds and then look at the value under ‘Shortcode.’ You’ll need to add this code to the block or widget, so make a note of it.
In the following image, we’ll need to use [reviews-feed feed=2]
If you want to embed the feed in a page or post, then you can use the Reviews Feed block.
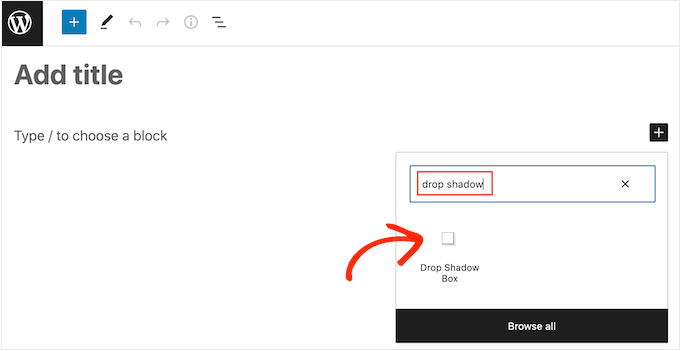
Just open the page or post where you want to show your Yelp, Google, or Facebook reviews. Then, click on the ‘+’ icon to add a new block and start typing ‘Reviews Feed.’
When the right block appears, click to add it to the page or post.

The block will show one of your review feeds by default. If you want to show a different feed, then find ‘Shortcode Settings’ in the right-hand menu.
Here, simply add the shortcode you got earlier, and then click on ‘Apply Changes.’
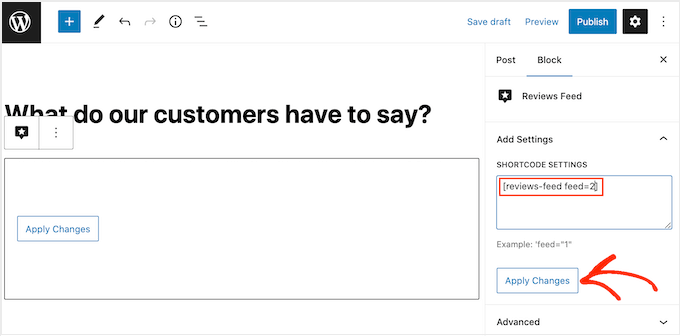
If you’re happy with how the review feed looks, then you can go ahead and publish or update the page.
Another option is to add the Reviews Feed widget to your website. This is a great way to show positive customer reviews on every page of your site. For example, you might add the widget to the sidebar or WordPress footer.
To add the Reviews Feed widget to your site, head over to Appearance » Widgets. You can then click on the blue ‘+’ icon towards the top of the screen.
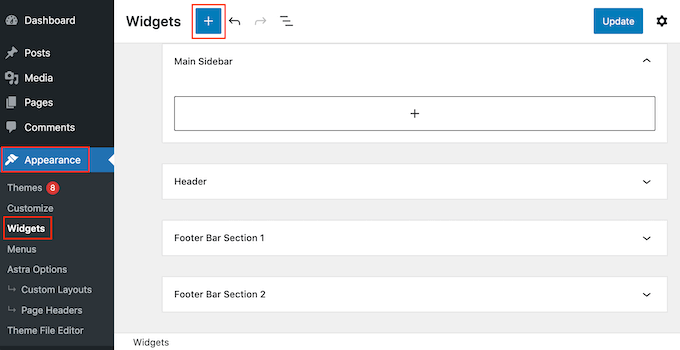
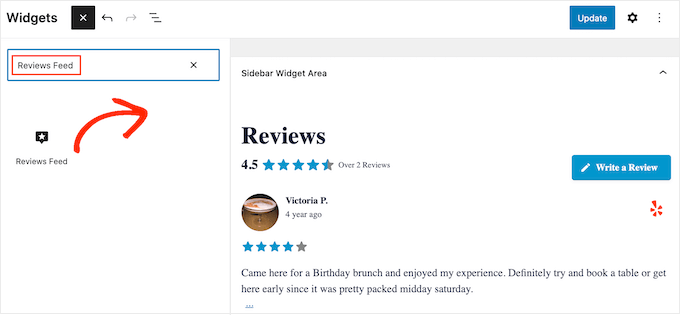
In the panel that appears, type in ‘Reviews Feed’ to find the right widget.
Then, simply drag the widget onto the area where you want to show the reviews, such as the sidebar or similar section.
The widget will automatically show one of the feeds you created using the Reviews Feed plugin. If this isn’t the feed you want to display, then type the feed’s shortcode into the ‘Shortcode Settings’ box.
After that, click on ‘Apply Changes.’
You can now make the widget live by clicking on the ‘Update’ button. For more information, please see our step-by-step guide on how to add and use widgets in WordPress.
Another option is embedding the Google, Facebook, or Yelp reviews on any page, post, or widget-ready area using the shortcode.
Simply go to Reviews Feed » All Feeds and copy the code in the ‘Shortcode’ column. You can now add this code to any Shortcode block.
For help placing the shortcode, please see our guide on how to add a shortcode.
Are you using a block-enabled theme? Then you can use the full-site editor to add the Reviews Feed block anywhere on your website.
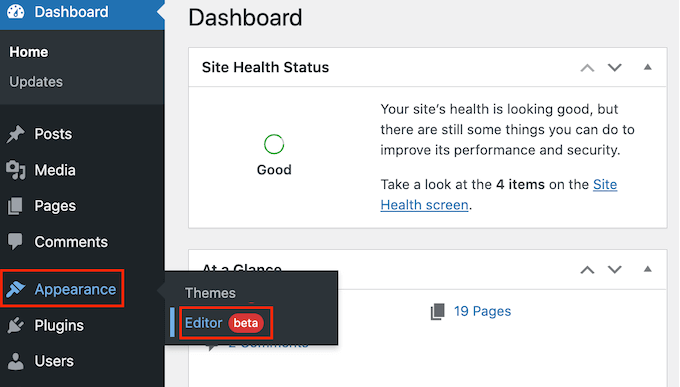
In the WordPress dashboard, go to Appearance » Editor.
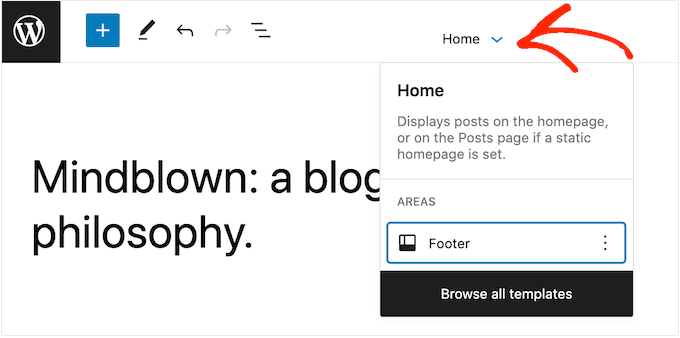
By default, the full-site editor will show the theme’s home template. If you want to add the Google, Facebook, or Yelp feed to a different template, then click on the arrow next to ‘Home.’
You can then choose any design from the dropdown, such as the footer template.
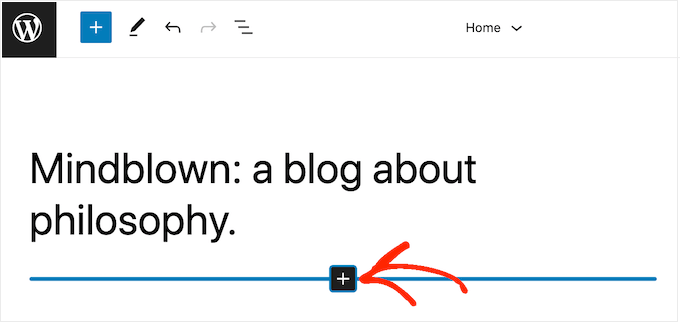
After choosing a template, simply hover your mouse over the area where you want to show the reviews.
Then, click on the ‘+’ button.
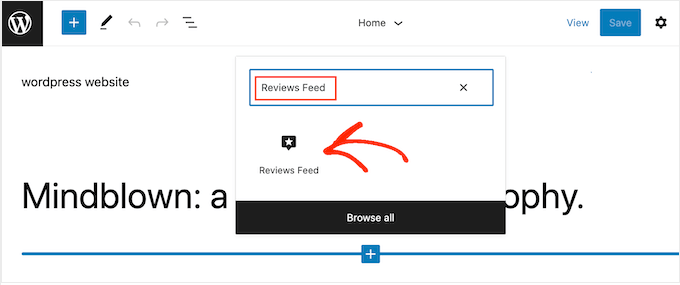
Once you’ve done that, type in ‘Reviews Feed.’
When the right block appears, click to add it to the template.
As always, Reviews Feed will show a feed by default. You can change this feed by adding a shortcode following the same process described above.
We hope this article helped you learn how to show Google, Facebook, and Yelp reviews in WordPress. You can also go through our guide on the best email marketing services for small businesses and how to create an email newsletter.
If you liked this article, then please subscribe to our YouTube Channel for WordPress video tutorials. You can also find us on Twitter and Facebook.
The post How to Show Google, Facebook, and Yelp Reviews in WordPress first appeared on WPBeginner.
February 10, 2023 at 12:09AM