Do you want to generate leads and increase sales from your website?
Lead generation should be a top priority for all businesses because converting visitors into subscribers and customers is how you make money online.
In this article, we’ll show you how to do lead generation in WordPress like a pro.

This is a comprehensive guide on lead generation in WordPress, so we’ve added a table of contents for easier navigation:
- What is lead generation?
- Getting started with lead generation in WordPress
- Lead generation using forms in WordPress
- Lead generation using popups and dynamic opt ins
- Lead generation using custom WordPress pages
- Lead generation using online calculators
- Lead generation using viral giveaways
- Lead generation improving WordPress comments
- Optimizing your WordPress lead generation campaigns
What is Lead Generation in WordPress?
Lead generation means getting potential customers, or ‘leads’, interested in your products and services, and capturing their contact information.
More than 75% of visitors that come to your website will leave, and you’ll never hear from them again. But by having strong lead generation in place, you can gather those users’ information and continue to engage with them, and turn them into happy customers.
Depending on the type of website you run, you can encourage your visitors to share their contact information by:
- Submitting a contact or inquiry form on your site
- Joining your email newsletter
- Signing up for an upcoming webinar
- Using an online calculator with email results
- Entering a viral giveaway you run
Essentially, lead generation is all about opening a communication channel between you and your visitors.
Once you get a user to perform an action that opens up a communication channel, you can begin to send them special offers, freebies, good content, and more to bring them back to your website and convert them into customers.
Who Should Start Generating Leads?
Whether you’re a new blogger, a small or large business, or even a hobby blogger, you need to start doing lead generation.
Even non-profit owners can benefit from lead generation to get more support and donations.
If you care about growing your audience and getting more traffic to your website, then you should start generating leads today.
Many successful online marketers and bloggers will tell you that the biggest mistake was not starting an email list to capture leads earlier.
When Should I Start Lead Generation?
It takes time to generate leads. Every moment you don’t have lead generation in place, you lose potential customers.
Even when you just started a blog and are only getting a little bit of traffic, those leads can build over time.
Business owners who haven’t launched their websites yet can still benefit from lead generation by creating coming soon pages to create anticipation and hype before launch.
With that said, let’s take a look at how to get started with lead generation in WordPress.
Getting Started with Lead Generation in WordPress
Before you can start generating leads, you must make sure that you are using the right WordPress platform. Yes, there are two types of WordPress.
We recommend using WordPress.org, the self hosted version, because it lets you use all WordPress features without any restrictions and build a website ready to generate leads.
For more details, see our comparison between WordPress.com vs WordPress.org.
You’ll need the following things to get started building a WordPress site for lead generation:
- WordPress hosting (this is where your website files are stored)
- A domain name (for example, wpbeginner.com)
- WordPress lead generation tools and plugins (highlighted below)
First you need to get a domain name and web hosting.
We recommend using Bluehost for your web hosting. Their hosting plans are officially recommended by WordPress.

WPBeginner readers can currently get a big 60% discount on hosting, plus a free domain name and SSL certificate.
Simply click on the Bluehost button below, and the discount will automatically be applied.
Once you’ve purchased hosting, make sure to check out our ultimate guide on how to make a website.
Recommended Lead Generation Tools and Plugins to Get Started
Next, there are a few plugins and tools we highly recommend using for lead generation.
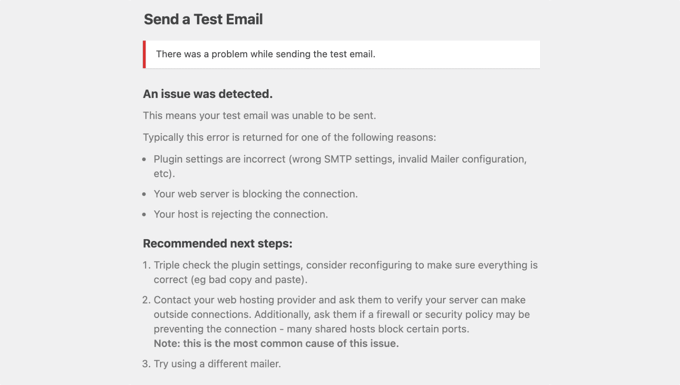
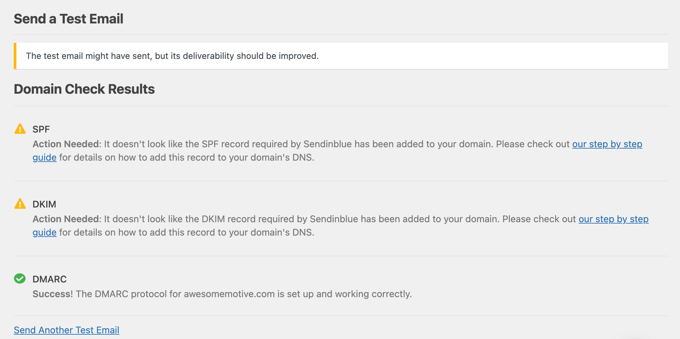
First, you need to sign up with a email marketing service provider. This will let you collect email addresses on your website to build your email list and send emails in an easy to use interface.
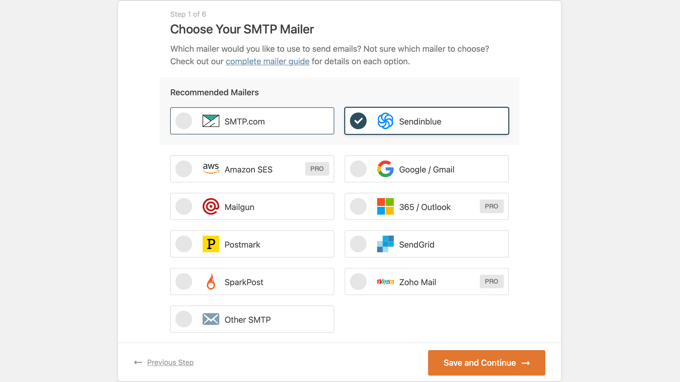
Some great services to get started with include Constant Contact, HubSpot, and Sendinblue.
Next, you’ll also need a popup tool like OptinMonster. It’s one of the best popup plugins and lead generation tools in the market used by over 1.2 million websites.
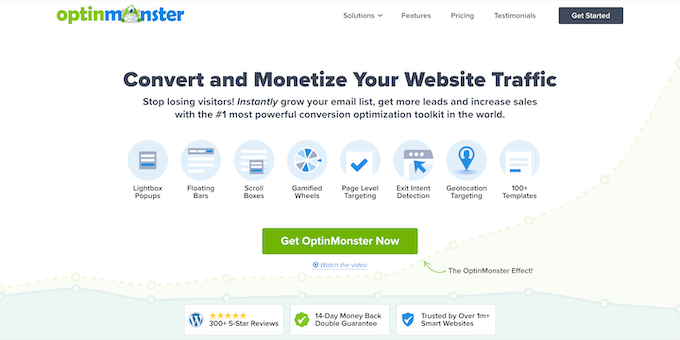
This will help you create popups, floating bars, scroll boxes, and more to collect leads on your website.
You’ll also want a WordPress form builder like WPForms. It’s one of the best lead generation plugins and form builders in the market used by over 5 million sites.
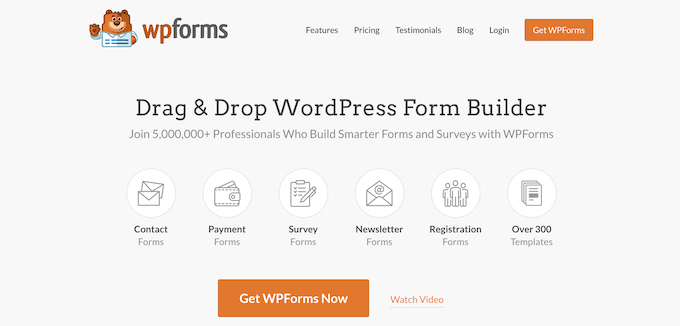
This will help you create lead generation forms, sign up forms, and more.
Aside from that, we’ll be covering several other WordPress lead generation plugins, tools, and tips below to help you convert website visitors into leads, customers, and subscribers.
Lead Generation Using Forms in WordPress
One of the most effective ways to generate leads on your website is using WordPress forms. This can be a simple contact form, request a quote form, general interest form, and much more.
The easiest way to add forms to your website is by using the WPForms plugin mentioned above.
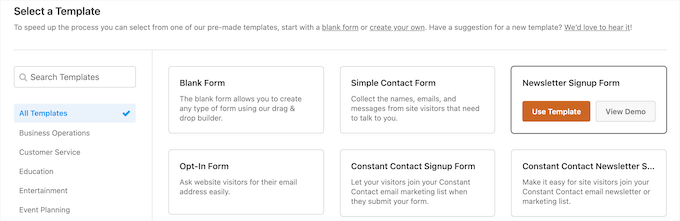
It’s very beginner friendly and will let you create nearly any kind of form with the drag and drop builder. There are over 300+ form templates you can use to get started.
Plus, it integrates will all the top email marketing providers, so you can easily send your leads to your preferred tool.
Below we’ll show you a few different ways you can use WPForms to generate leads.
Create Simple Lead Generation Forms in WordPress
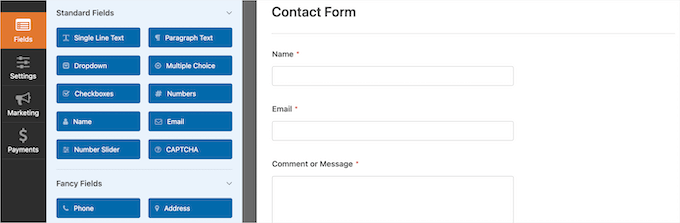
The simplest way to generate leads on your site is with a simple contact form. WPForms makes it easy to create a contact form in minutes using the drag and drop builder.
You can even use the free version of WPForms to create a simple form and connect it to Constant Contact for sending emails to your list.
For more details, see our step by step guide on how to create a contact form in WordPress.
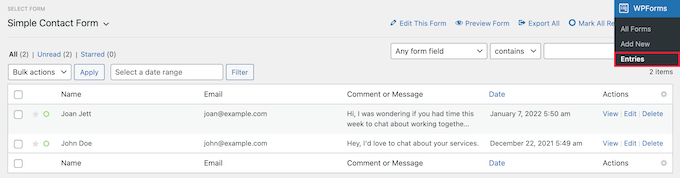
WPForms also has built in settings that let you view and manage all of your form submissions directly from your WordPress dashboard.
Simply go to WPForms » Entries, and you can view all of your form submissions.
Redirect Users After Form Submission
Another technique you can use to boost sales and sign ups is adding a redirect page upon successful form submission.
WPForms allows you to easily redirect users to any page after submitting a form using the smart form confirmation feature.
To do this, go to Settings » Confirmations in your form editor screen and then select your confirmation type from the drop down list.
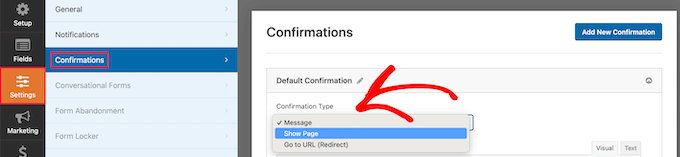
You can choose to show a confirmation message, redirect users to another WordPress page, or even a different URL.
If you select the ‘Show Page’ option, then you can create a separate page on your WordPress site with special offers, coupons, or show users content to help convert visitors into customers.
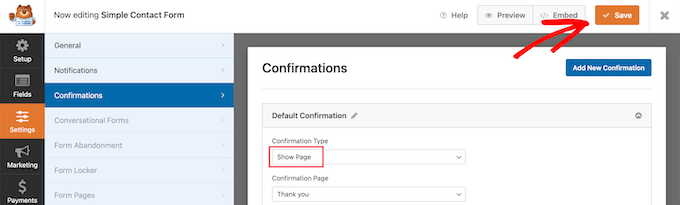
Once you’re done, make sure to click the ‘Save’ button to confirm your changes.
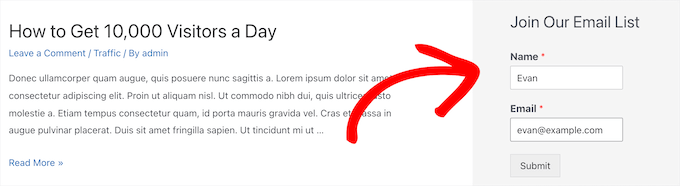
Add Newsletter Signup Forms to Your Website
Contact forms and other types of inquiry forms are great for collecting inbound leads, but you can also use them to build your email list.
Using WPForms, you can create simple email newsletter opt in forms to add to different areas of your website.
To set up your email newsletter form, see our guide on how to create an email newsletter the right way.
You can add these forms to different areas of your WordPress site, including your sidebar, footer area, and below your blog posts.
If you want to create simple single line forms that are easy to place throughout your site, then see our guide on how to display your form in a single line in WordPress.
Lead Generation Using Popups and Dynamic Opt ins in WordPress
When doing lead generation, it’s important to have multiple types of lead generation in place. For example, your readers might miss a simple sidebar email opt in box, but you can create engaging popups that will capture your reader’s attention.
This is where OptinMonster comes in. It’s the best email capture tool for WordPress that allows you to create high-converting opt in forms for your WordPress site without hiring a developer.
We use it on WPBeginner and have increased our conversions by over 600% with this plugin alone.
With OptinMonster, you can create personalized opt ins based on user behavior, so you can send users the right message at the right time.
For example, you can create customized opt ins that will show up based on:
- The page, post, or category being viewed
- Your user’s location in the world
- What previous interactions they’ve taken on your site
- Where your visitors are coming from (Google Search, Facebook, etc.)
- Which device they’re using to browse your site
- And much more
Combined with these targeting options, dynamic opt in forms are the most powerful tool in any marketer’s toolbox.
Here are a few different ways you can use OptinMonster to generate more leads.
Use Exit-Intent Lightbox Popup for Email Signups
OptinMonster has a unique exit-intent technology that detects when a user’s mouse is leaving the page and shows a popup at that exact moment.
This gives your visitors one last chance to sign up before they decide to leave your website. It’s less intrusive and doesn’t annoy your visitors since it won’t show up until they’re leaving.
Exit intent popups simply work, which is why we use them on all of our brands for easy lead generation.

With OptinMonster, there’s also a wide variety of popup types you can create like spin to win opt ins, floating bars, mobile popups, and more.
You can create multiple different types of opt ins for your site and test them to see what works best.

Now, we’ll look at a few more unique ways to use OptinMonster for lead generation.
Boost Conversions with Fullscreen Welcome Mats
Welcome mats let you capture your visitor’s attention and allow you to display a full screen overlay on your content.
To view the page, your visitors will need to give you their contact information or close it.

Similar to exit intent popups, this style of opt in also converts incredibly well.
For more details, see our guide on how to create a welcome mat for your WordPress site.
Lock Your Content to Improve Lead Generation
Content locking is a technique used by site owners to encourage people to take action.
This can be anything from joining an email newsletter to signing up for a premium paywall.
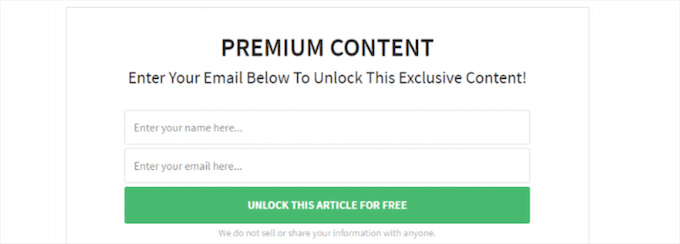
If you have a ton of high-quality content, then you can hide this behind a content locker to generate more leads.
For more details, see our guide on how to add content locking to WordPress.
Offer Users Incentives to Join Your Email List
Similar to using a content locker, a content upgrade is an exclusive bonus you offer to your readers in exchange for joining your email list.
You can create all kinds of content upgrades like checklists, eBooks, worksheets, and more.
Content upgrades are great because they use on-click popups to deliver the download. Your visitors simply click the link and a popup will appear.

This takes advantage of the powerful Zeigarnik effect. This psychological principle states that users who start an action are more likely to finish it.
For more details, see our guide on how to add content upgrades in WordPress and grow your email list.
Lead Generation Using Custom WordPress Pages
When building your site, you may need to create custom pages to generate leads. For example, you can create a landing page that people will visit when coming to your site from social media only.
These pages are built for a very specific purpose and often have higher conversion rates than other pages since there’s less distraction.
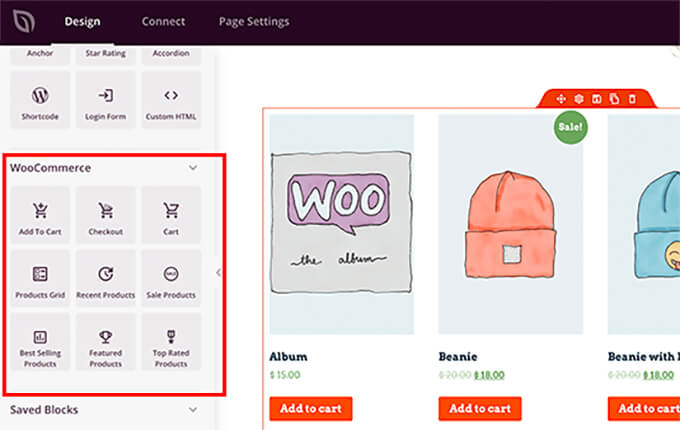
The easiest way to build these custom pages is by using SeedProd. It’s the best drag and drop WordPress page builder in the market used by over 1 million websites.
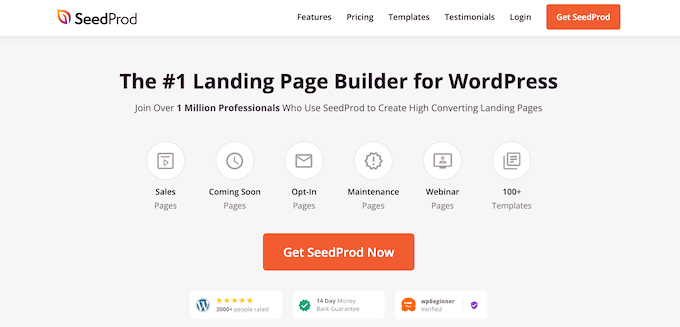
With this plugin, you can create any type of landing page without writing any code. It has dozens of professional templates you can customize easily with the drag and drop builder.
Many of these can be used to generate leads, like opt in pages, sales funnel landing pages, webinar registration pages, and more.

You can also connect SeedProd with popular email marketing tools and other lead generation plugins like WPForms.
Every single template can be completely customized to help you start generating leads as quickly as possible.
There are dozens of blocks designed to improve your landing pages and convert better, like countdown timers, CTA buttons, rotating testimonials, and more.

For more details on building high converting landing pages, see our guide on how to create a landing page in WordPress.
Lead Generation in WordPress Using Simple Online Calculators
Online calculators are a very popular type of lead magnet used by some of the best blogs in the world today.
These calculators help your users solve a problem or answer a question. To get the results from the calculator, your readers will enter their email addresses.
You can use online calculators in virtually any popular blogging niche like finance, fitness, travel, and much more.
The easiest way to add online calculators to your website is by using the Formidable Forms plugin. It’s the best WordPress calculator plugin in the market and makes it easy to build advanced online calculators without writing code.
It integrates with popular email marketing providers and small business CRMs, so you can send your new leads directly to your provider of choice.
Plus, it comes with dozens of different templates like BMI calculators, paycheck calculators, mortgage calculators, and more you can use to create new calculators quickly.

For more details, see our guide on how to generate more leads with free online calculators.
Lead Generation in WordPress Using Viral Giveaways
Giveaways are a super powerful way to get more traffic, grow your email list, grow your brand recognition, and more.
Running a giveaway on your WordPress website gives you control over the end result. You can choose whether you want to get more email subscribers, social media followers, and more.
To enter the contest, your users will need to complete an action that you decide.
The easiest way to do this is with RafflePress. It’s the best WordPress giveaway and contest plugin in the market that lets you easily run giveaways on your site.

It has built-in 1-click fraud protection and verification so you can ensure that all of the leads you’re collecting are real.
You can use the viral template library and drag and drop content builder to quickly create your giveaways and contests.

For more details, see our guide on how to run a giveaway / contest in WordPress with RafflePress.
Lead Generation in WordPress by Improving Comments
Comments are a great to build user engagement. If you have users who are regularly commenting and interacting on your site, then there’s a good chance they’ll become a customer or join your email list.
However, the default WordPress comment system is not very efficient in bringing back the users who leave comments.
Here are a few different ways to capture leads from your comment forms and get people to come back to your website.
Capture Leads by Adding a Comment Redirect
By default, when a user submits a comment on your website, they’ll see the same page again. There’s nothing new on that page except for the preview of their new comment.
You can convert these visitors into subscribers by redirecting them to a different page on your site after commenting. This could be a thank you page, a special offer page, and more.
The easiest way to add a comment redirect feature is using the Yoast Comment Hacks plugin.
First thing you need to do is install and activate the plugin. For more details, see our guide on how to install a WordPress plugin.
Upon activation, you need to visit Settings » Comment Hacks page and scroll down to the ‘Redirect first time commenters’ section.
Then, select the page to redirect new commentors from the ‘Redirect to’ drop down list.
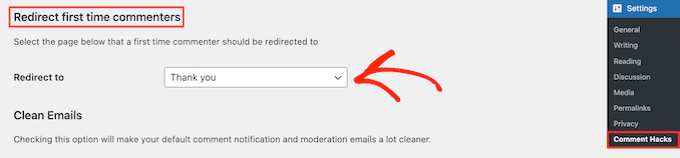
After that, click the ‘Save Changes’ button at the bottom of the screen.
Now, all first time commenters on your website will be redirected to your selected page. You can optimize this page by adding an email signup form, offering a special discount, or anything else you want.
Add Comment Subscription Option in WordPress
As we mentioned earlier, WordPress doesn’t send any notifications to users after they leave a comment. The user will have to come back to your site manually to see if someone replied to their comment.
Adding a comment subscription option will allow users to get notified about new comments. This will give you more opportunities to convert those visitors into subscribers.
To do this, we’ll be using the Subscribe to Comments Reloaded plugin. It lets you enable comment subscribers, manage comment subscribers, and more.
You can add a simple checkbox to your comment forms that readers can check to subscribe to comments.

For more details, see our guide on how to allow your users to subscribe to comments in WordPress.
Optimizing Your WordPress Lead Generation Campaigns
Lead generation is an ongoing effort. You will need to monitor what is working well for your website and see how you can improve it.
Here are a few tips that will help you optimize your lead generation efforts over time:
- Track your form conversions to reduce abandonment
- Use an A/B testing tool like Google Optimize to improve opt ins
- Use multiple opt in locations to maximize your efforts
- Experiment with different colors, images, videos, and more
- Create and use multiple lead magnets in different areas of your website
- Think about the user experience and don’t annoy users with too many distractions
Beyond lead generation, you may also want to think about what happens after a visitor becomes a lead.
You’ll need to have an effective follow up strategy and consider your long term sources of leads.
Here are a few ideas to get you started:
- Use a professional business phone service for phone leads
- Use a live chat service or an AI chatbot platform to collect leads and boost conversions
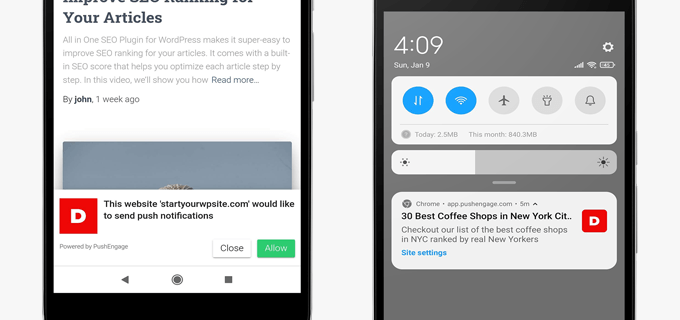
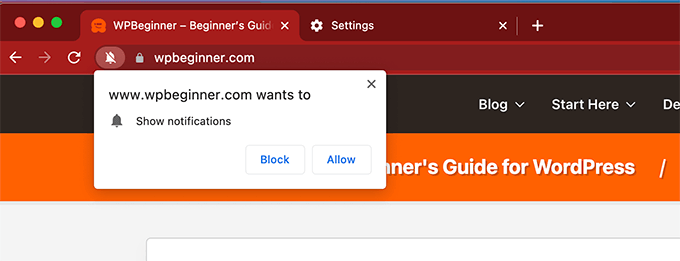
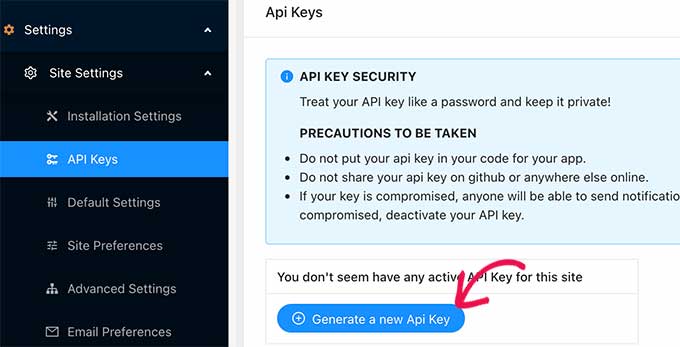
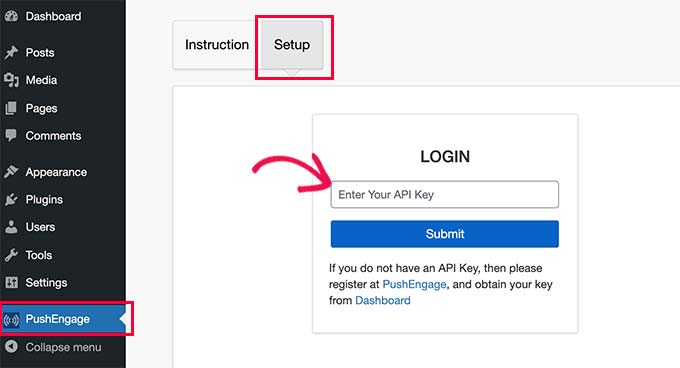
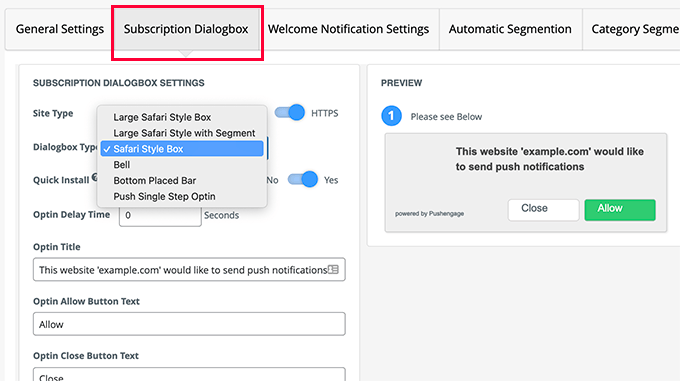
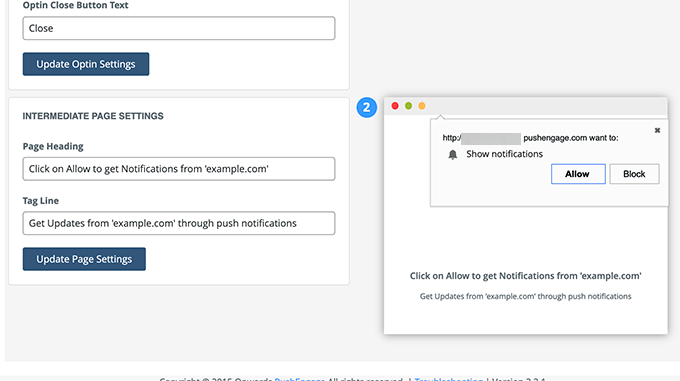
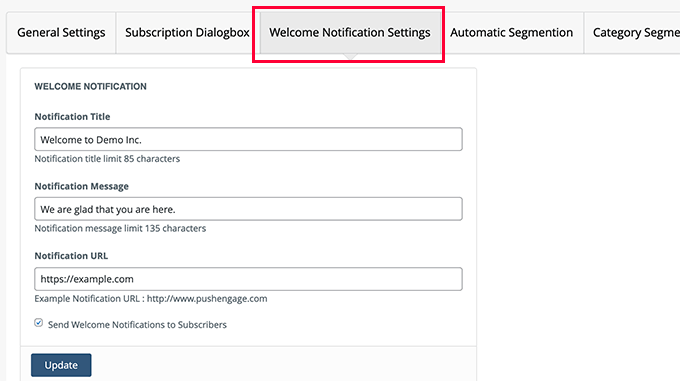
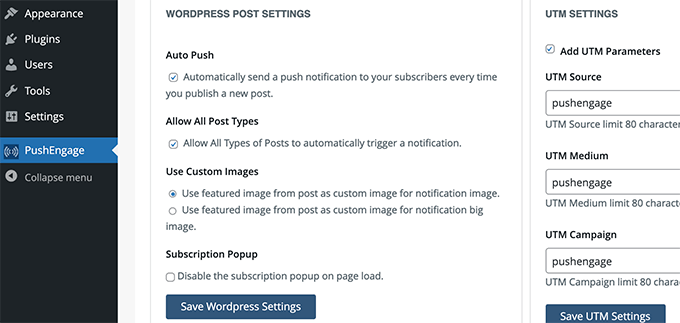
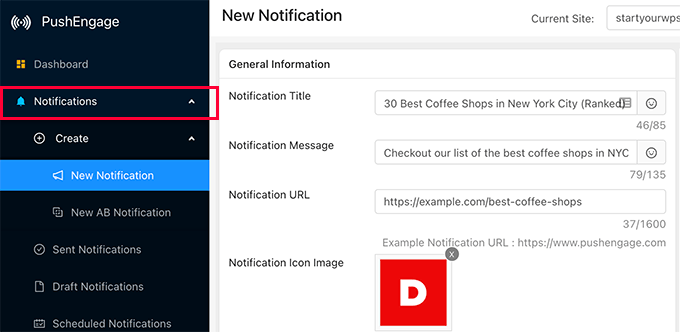
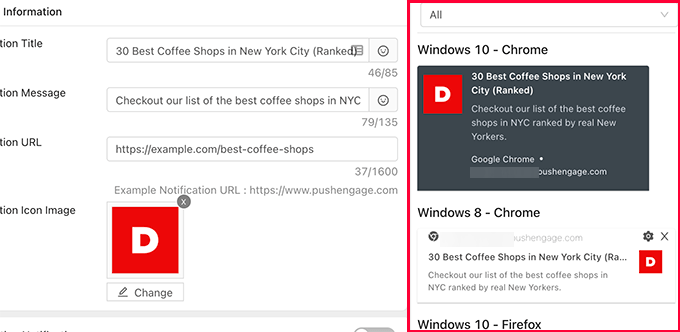
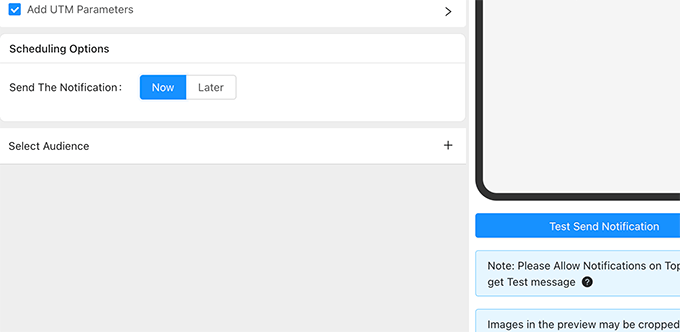
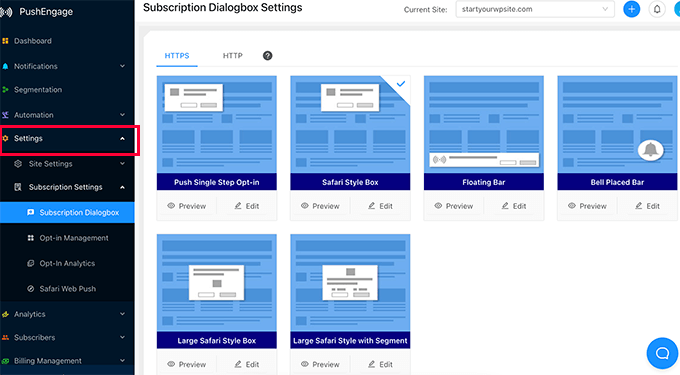
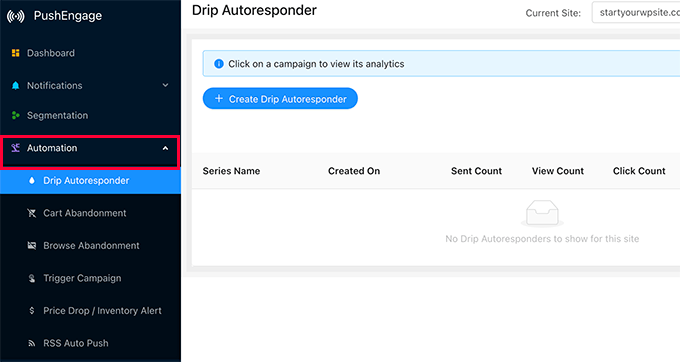
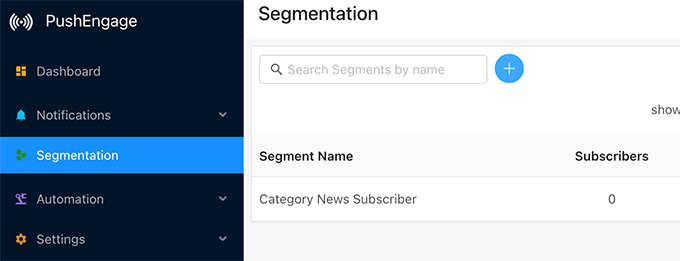
- Use a push notification software as an alternative platform to communicate with website visitors
- Add a CRM to WordPress to better track and follow up with leads
- Optimize your WordPress SEO for long term search engine traffic
- Setup WordPress conversion tracking to see how visitors use your site
We hope this article helped you learn how to do lead generation in WordPress like a pro. You may also want to check out our free business name generator and our expert picks of the best HR payroll software for businesses.
If you liked this article, then please subscribe to our YouTube Channel for WordPress video tutorials. You can also find us on Twitter and Facebook.
The post How to Do Lead Generation in WordPress Like a Pro first appeared on WPBeginner.
January 13, 2022 at 03:00PM