Saturday, August 13, 2022

WordPress Block Editor vs Page Builders: What’s the Difference?

As the WordPress block editor adds more site editing features, we have been asked if it is meant to be a replacement for drag and drop WordPress page builder plugins?

The WordPress block editor is quite intuitive and can be used to create beautiful content layouts. However, it is still no match for the powerful page builder plugins.

In this article, we’ll compare WordPress block editor vs page builder plugins to help you understand the difference.

The difference between block editor and page builder plugins

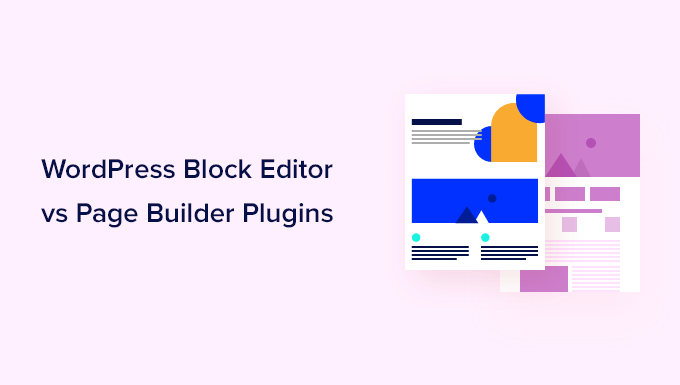
WordPress Block Editor vs Page Builders (Explained)

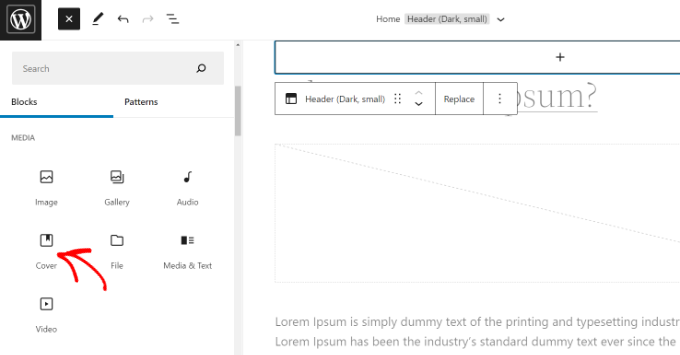
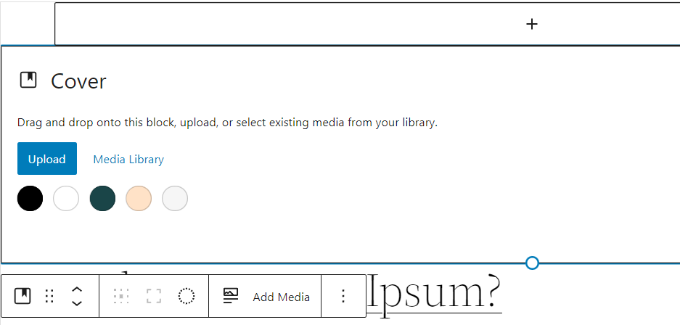
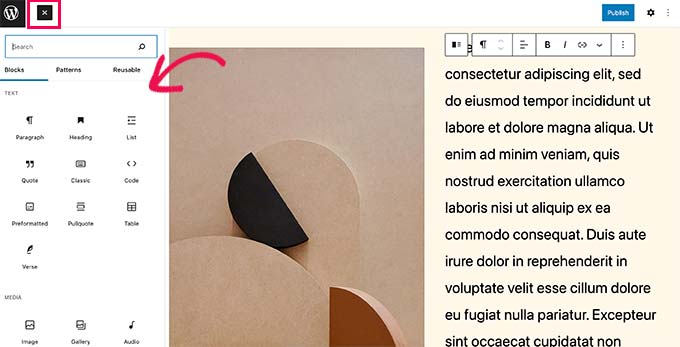
The block editor is the default editor in WordPress. It uses blocks for common website elements (hence the name, Block Editor).

When creating posts and pages on your WordPress site, you can use the block editor to add and edit your content. The block editor is also used for all your widget areas. And now, some themes called ‘block themes’ even support using the block editor for every area on your website.

Block Editor

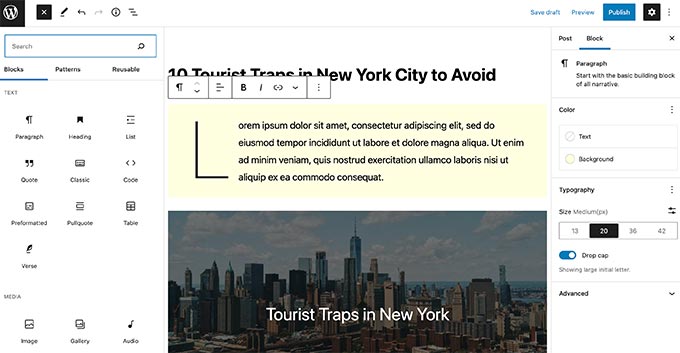
Since the block editor allows you to use blocks for creating content layouts, it is easy to confuse it with a drag-and-drop page builder.

However, it is still nowhere close to being called a page builder.

WordPress page builder plugins are drag-and-drop design tools allowing you to create custom WordPress website designs without writing any code.

SeedProd a popular WordPress page builder plugin

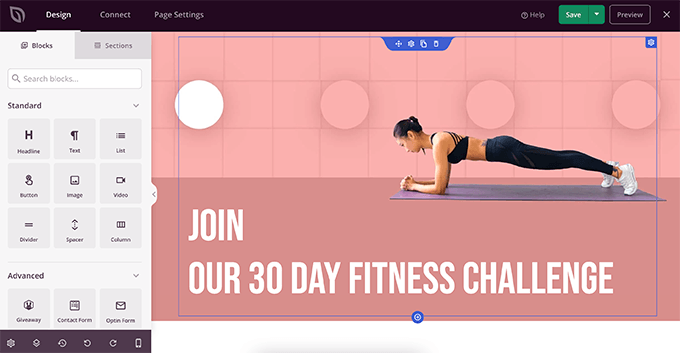
Top WordPress page builders like SeedProd, Beaver Builder, Divi, Elementor, and Visual Composer are significantly more powerful.

They come with ready-made templates that you can use and offer much more design flexibility than WordPress block editor.

To understand better, let’s take a deeper look at the differences between WordPress block editor and Page Builders.

Key Differences Between Gutenberg and Page Builder Plugins

The biggest difference is that the block editor comes built-in with WordPress core software as the default editor.

On the other hand, page builder plugins are created and supported by third-party developers.

WordPress.org team does not call the default editor a page builder. Instead, they call it the block editor, and it’s presented as a modern way to edit your website in WordPress.

There’s a big reason for that, and it’ll become very clear as you read the differences between the two.

1. Theme Compatibility & Support

The WordPress block editor relies heavily on your theme styles. It does add some of its own CSS and even allows you to add custom CSS for blocks, but it doesn’t override your theme styles and settings.

Theme dependency

While page builder plugins can work with your theme styles, they also give you the option to completely take over a page and override your theme’s styles.

Some WordPress page builders like SeedProd are completely theme agnostic. This means that pages created with SeedProd would look the same even if you change your WordPress theme.

Theme agnostic design

This is extremely helpful if you want to create custom layouts for all website pages.

2. Blocks and Widgets

WordPress block editor comes with a decent set of default blocks covering all the commonly used content elements. You can also save and reuse blocks in other posts and even on other WordPress websites.

It has a powerful API allowing plugin developers to create their own blocks. All top WordPress plugins also have their own WordPress blocks that you can use.

Using blocks in the block editor

On the other hand, WordPress page builders come with even more blocks.

They offer advanced content elements, including carousels, sliders, call-to-action buttons, contact forms, countdown timers, and more.

Page builder blocks

You can also save individual blocks, rows, or entire templates to reuse later.

3. Formatting & Styling Options

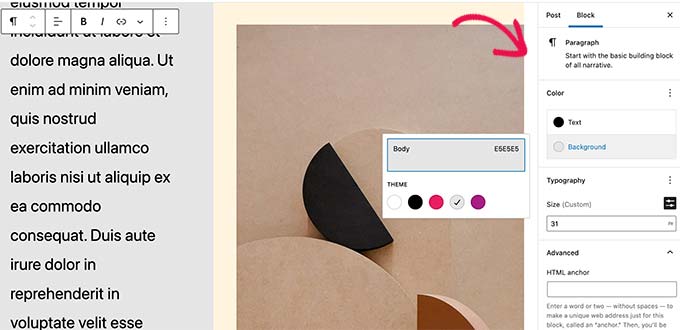
The blocks in the WordPress block editor come with their own styling and formatting options. However, these options are limited.

For more styling and formatting, you’ll have to add your own custom CSS for a block.

Block styling

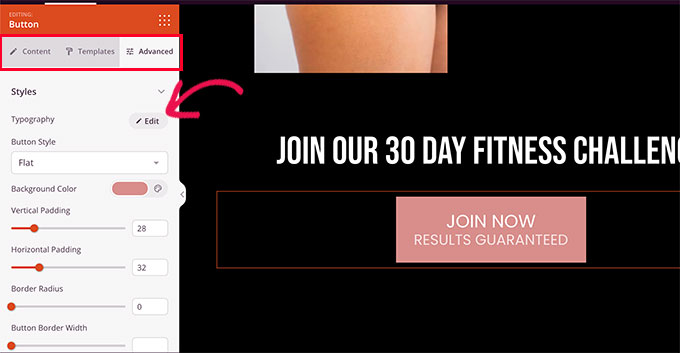
Page Builders, on the other hand, offer more styling options by default.

You can change the background colors of blocks, use gradients, use font-icons, select fonts, line height, adjust the width of elements, use styles on images, and more.

Block styling in Page builders

4. Templates, Patterns, and Sections

The block editor comes with patterns, which are sets of blocks to quickly insert commonly used areas on a WordPress blog.

For instance, you can use block patterns for headers, call-to-action buttons, columns, and more.

Block patterns

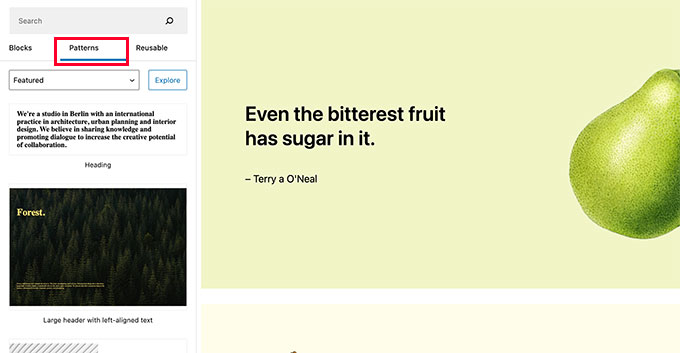
Your WordPress theme may come with its own patterns. You can also find and install patterns from WordPress.org’s patterns library.

If you are using a block theme (themes that support full site editing), then you can also edit theme templates. Your WordPress theme may come with templates you can edit using the block editor.

Templates in site editor

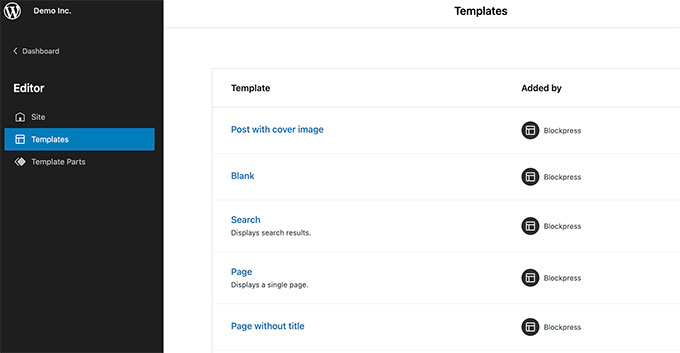
However, these templates are generic and provide functionality to display common pages of a typical WordPress website.

WordPress page builder plugins come with more pre-made templates and sections or patterns.

Using sections in page builder

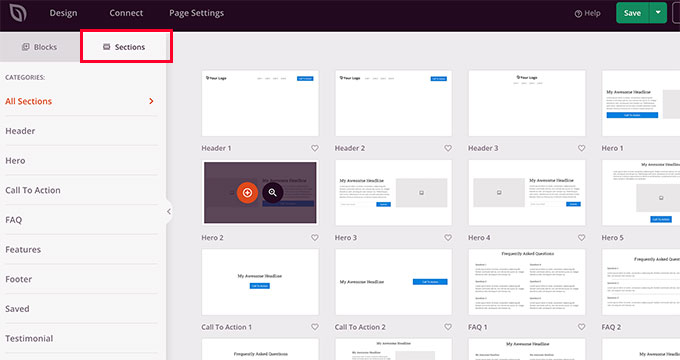
Unlike block editor, these sections and templates don’t rely on your WordPress theme for styling.

Most WordPress page builder plugins come with dozens of ready to use templates that are highly optimized for conversions.

Page builder templates

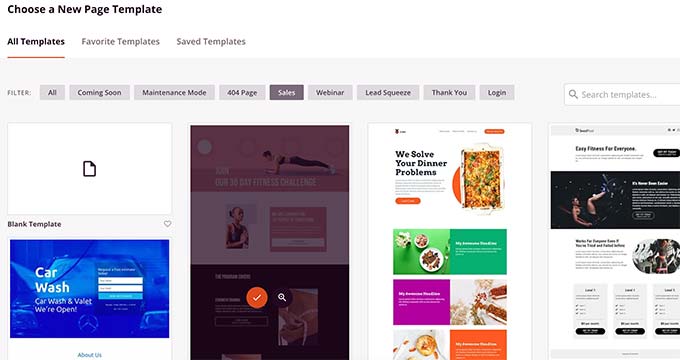
Plus, you also get templates for specific business types and websites which makes it much faster to customize them for your own needs.

5. Drag and Drop Features

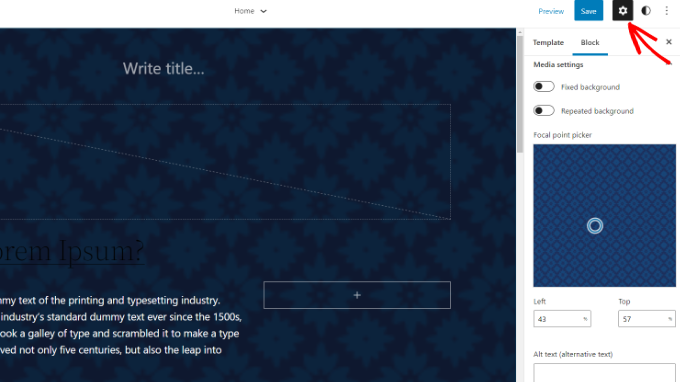
The WordPress block editor is not a drag and drop design tool (at least, not in its current form).

You can add blocks and move them up and down, but you cannot adjust their width/height using your mouse, move blocks next to each other, or create complex layouts.

Moving blocks up and down

The block editor comes with group and column blocks that can be used to create beautiful page layouts.

On the other hand, page builders allow you to drag and drop blocks/widgets, adjust their height and width, create columns and add blocks inside other blocks.

Drag and drop in page builders

These drag and drop allow you to design your pages and complete websites easily.

6. Full Site Editor vs WordPress Page Builders

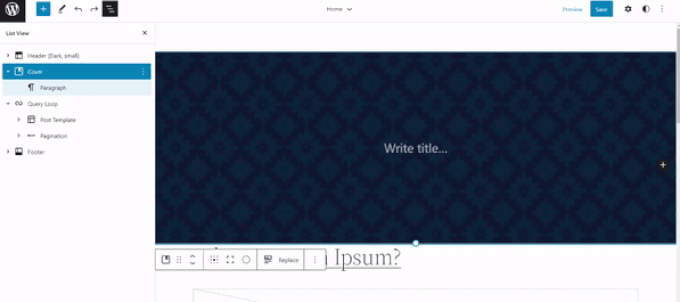
You can also use the block editor to edit your WordPress theme. However, you’ll need a WordPress theme that supports the full site editor to try this out.

Go to full site editor

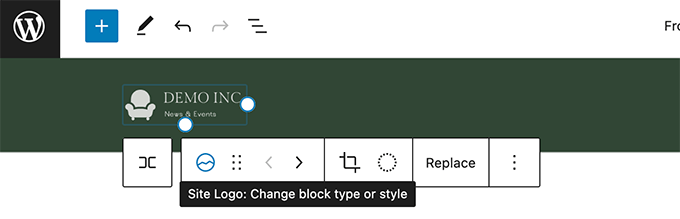
The WordPress full site editor comes with sitewide blocks like query block, site logo, navigation menus, and more.

You can edit your theme templates like header, footer, homepage, and more.

Site logo block editor

However, the full site editing feature requires using a supported theme. Your changes will disappear if you change your WordPress theme.

On the other hand, WordPress page builder plugins allow you to create individual pages to create your website. They can work with any WordPress theme, and you can change your WordPress theme.

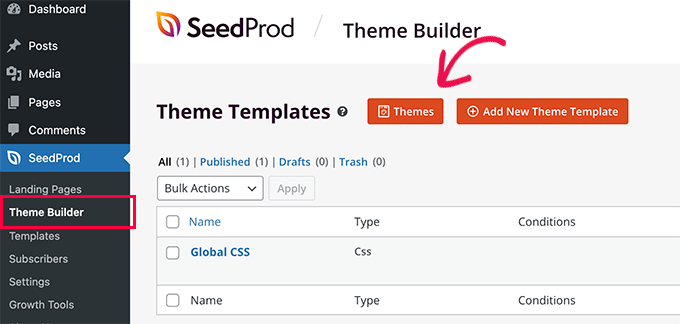
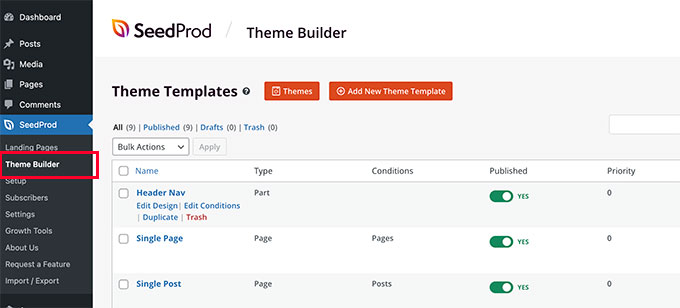
WordPress theme builder plugins SeedProd can even help you create custom WordPress theme without writing any code.

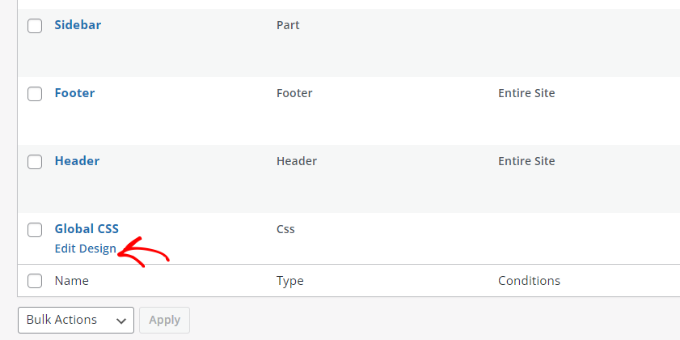
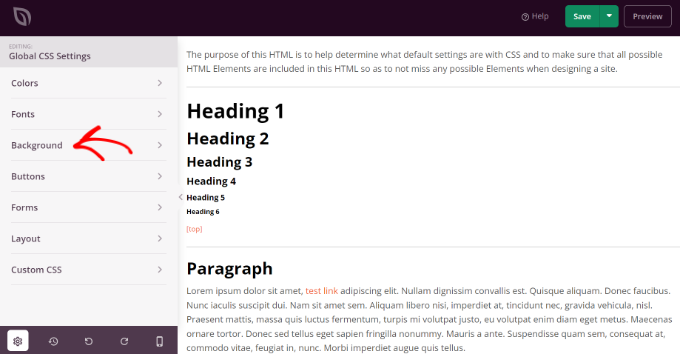
You can easily edit any section or page of your theme with the drag and drop builder. It even lets you select conditions for displaying each template. For example, you could display different sidebars for different sections of your site.

SeedProd theme builder

7. Development Goals

The default WordPress block editor is developed to make it easier for users to create content and edit their websites. It is intended to be used by everyone including bloggers, writers, photographers, and businesses.

The page builder plugins offer ability to create conversion and sales oriented pages without much effort. They are intended to be used by small businesses, aspiring designers, WordPress agencies, eCommerce stores, and more.

While the block editor helps you create better content, page builder plugins help you create better landing pages that help you increase sales, boost subscribers, and grow your business.

Can or Will the Block Editor Replace WordPress Page Builders?

In its current form, the block editor is a good content editor and an easy way to edit and customize your WordPress theme.

However, it is currently not a replacement for powerful drag and drop page builder plugins.

With that said, it is in the WordPress roadmap to expand block editor functionality and promote full site editing features.

We will have to wait and see the improvements to determine if block editor will ever come close to the powerful WordPress page builder plugins.

Which Page Builder Plugin to Use with the Block Editor?

All top WordPress page builder plugins work well with the WordPress block editor. You can take a look at our pick of the best WordPress page builder plugins, and how they stack up against each other.

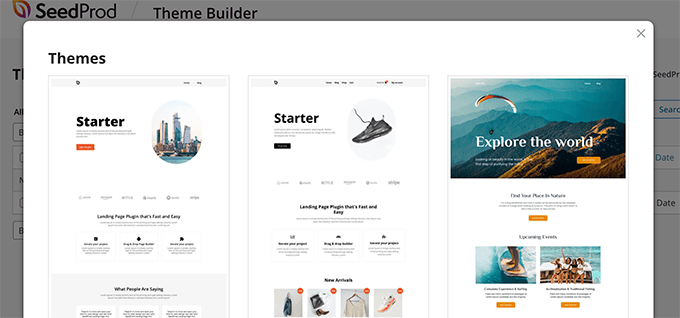
If you’re looking for an easy-to-use and powerful WordPress page builder, then we recommend SeedProd. It offers a drag and drop builder and over 200+ built-in themes to create any type of landing page without coding.

The plugin is lightweight and ensures that your pages load quickly, helping your rank higher in SEO. It also integrates with popular email marketing services such as Constant Contact, Drip, ConvertKit, and more.

We hope this article helped you understand the difference between block editor vs WordPress page builder plugins. You may also want to see our guide on how much does it cost to build a WordPress website, or see our expert pick of the best AI chatbots for small business.

If you liked this article, then please subscribe to our YouTube Channel for WordPress video tutorials. You can also find us on Twitter and Facebook.

The post WordPress Block Editor vs Page Builders: What’s the Difference? first appeared on WPBeginner.


August 13, 2022 at 03:00PM

Friday, August 12, 2022

How to Add a Smooth Scroll to Top Effect in WordPress using jQuery

Do you want to add a smooth scroll to the top of the page effect on your WordPress website?

A scroll to top effect is great when you have a long page and want to give your users an easy way to get back to the top. It helps improve the user experience of your website.

In this article, we will show you how to add a smooth scroll-to-top effect in WordPress using jQuery and a plugin.

How to scroll to top effect using jQuery

What is Smooth Scroll and When Should You Use It?

Unless the site has a sticky header menu, users that scroll to the bottom of a long WordPress page or post have to manually swipe or scroll their way back to the top to navigate the site.

That can be a real annoyance, and often users will simply hit the back button and leave. That’s why you need a button that will quickly send users to the top of the page.

You can add this functionality as a simple text link without using jQuery, like this:

<a href="#" title="Back to top">^Top</a>

That will send users to the top by scrolling up the entire page in milliseconds. It works, but the effect can be jarring, kind of like when you hit a bump in the road.

Smooth scroll is the opposite of that. It will slide the user back to the top with a visually pleasing effect. Using elements like this can drastically improve the user experience on your site.

That said, let’s see how you can add a smooth scroll to top effect using a WordPress plugin and jQuery.

How to Add a Smooth Scroll-to-Top Effect Using a WordPress Plugin

This method is recommended for beginners, since you can add a scroll-to-top effect to a WordPress website without touching a single line of code.

The first thing you’ll need to do is install and activate the WPFront Scroll Top plugin. If you need help, then please see our guide on how to install a WordPress plugin.

Upon activation, you can go to Settings » Scroll Top from your WordPress dashboard. Here you can configure the plugin and customize the smooth scroll effect.

First, you’ll need to click the ‘Enabled’ checkbox to activate the scroll-to-top button on your site. Next, you’ll see options to edit the scroll offset, button size, opacity, fade duration, scroll duration, and more.

Edit WPfront scroll top settings

If you scroll down, you’ll find more options like editing the auto-hide time, enabling the option to hide the button on small devices, and hiding it on the wp-admin screen.

You can also edit what the button does when you click it. By default, it will scroll to the top of the page, but you can change it to scroll to a particular element in the post or even link to a page.

There’s also an option to change the location of the button. It will appear in the bottom right corner of the screen by default, but you can choose to move it to any of the other corners, too.

More edit WPfront scroll top settings

The WPFront Scroll Top plugin also offers filters to show the scroll-to-top button only on selected pages.

Normally, it will appear on all the pages on your WordPress blog. However, you can navigate to the ‘Display on Pages’ section and choose where you’d like to display the scrolling to the top effect.

Choose where to display the effect

The plugin also offers pre-built button designs you can choose from. You should be able to easily find a design that matches your site.

If you can’t find a pre-built image button that works for you, then there is an option to upload a custom image from the WordPress media library.

Choose an image button

When you’re done, simply click the ‘Save Changes’ button.

You can now visit your website to see the scroll-to-top button in action.

Scroll to top button preview

Adding Smooth Scroll to Top Effect with jQuery in WordPress

This method is not recommended for beginners. It is suitable for people who are comfortable editing themes because it includes adding code to your website.

We will be using jQuery, some CSS, and a single line of HTML code in your WordPress theme to add the smooth scroll top effect.

First, open a text editor like Notepad and create a file. Go ahead and save it as smoothscroll.js.

Next, you will need to copy and paste this code into the file:

jQuery(document).ready(function($){
        $(window).scroll(function(){
        if ($(this).scrollTop() < 200) {
                        $('#smoothup') .fadeOut();
        } else {
                        $('#smoothup') .fadeIn();
        }
    });
        $('#smoothup').on('click', function(){
                $('html, body').animate({scrollTop:0}, 'fast');
                return false;
                });
});

After that, you can save the file and upload it to the /js/ folder in your WordPress theme directory. For more details, please see our guide on how to use FTP to upload files to WordPress.

If your theme does not have a /js/ directory, then you can create one and upload smoothscroll.js to it. You can also see our guide on the WordPress files and directory structure for more information.

This code is the jQuery script that will add a smooth scroll effect to a button that takes users to the top of the page.

The next thing you need to do is to load the smoothscroll.js file in your theme. To do that, we will enqueue the script in WordPress.

After that, simply copy and paste this code to your theme’s functions.php file. We don’t recommend directly editing the theme files because the slightest mistake can break your site. Instead, you can use a plugin like WPCode and follow our tutorial on how to add custom code snippets in WordPress.

wp_enqueue_script( 'smoothup', get_template_directory_uri() . '/js/smoothscroll.js', array( 'jquery' ), '',  true );

In the above code, we have told WordPress to load our script and also load the jQuery library since our plugin depends on it.

Now that we have added the jQuery part, let’s add an actual link to our WordPress site that takes users back to the top. Simply paste this HTML anywhere in your theme’s footer.php file. If you need help, then please see our tutorial on how to add header and footer code in WordPress.

<a href="#top" id="smoothup" title="Back to top"></a>

You may have noticed that the HTML code includes a link but no anchor text. That’s because we will use an image icon with an up arrow to display a back-to-top button.

In this example, we are using a 40x40px icon. Simply add the custom CSS below to your theme’s stylesheet.

In this code, we are using an image icon as the button’s background image and setting it in a fixed position. We have also added a little CSS animation, which rotates the button when a user hovers their mouse over it.

#smoothup {
height: 40px;
width: 40px;
position:fixed;
bottom:50px;
right:100px;
text-indent:-9999px;
display:none;
background: url("https://www.example.com/wp-content/uploads/2013/07/top_icon.png");
-webkit-transition-duration: 0.4s;
-moz-transition-duration: 0.4s; transition-duration: 0.4s;
}

#smoothup:hover {
-webkit-transform: rotate(360deg) }
background: url('') no-repeat;
}

In the CSS above, make sure that you replace https://www.example.com/wp-content/uploads/2013/07/top_icon.png with the image URL you want to use. You can upload your own image icon using the WordPress media uploader, copy the image URL, and then paste it into the code.

We hope this article helped you add a smooth scroll to top effect on your site using jQuery. You may also want to see our expert pick of the best WordPress plugins for small business and our step by step guide on how to start an online store.

If you liked this article, then please subscribe to our YouTube Channel for WordPress video tutorials. You can also find us on Twitter and Facebook.

The post How to Add a Smooth Scroll to Top Effect in WordPress using jQuery first appeared on WPBeginner.


August 12, 2022 at 03:00PM

Thursday, August 11, 2022

How to Add a Background Image in WordPress (6 Easy Ways)

Do you want to add a background image to your WordPress site?

Background images can make your website look more engaging and vibrant.

In this article, we will show you how to easily add a background image to your WordPress site.

How to add a background image in WordPress

Why Add a WordPress Background Image?

Adding an image to your WordPress website can make it more attractive to visitors. You can quickly grab users’ attention and engage them with your content.

It also allows you to personalize your website design according to your brand. For example, you can upload subtle photos of your products or brand mascot in the background.

Additionally, you can also add a YouTube video as full background or an image slideshow that will bring your content to life.

However, we do suggest selecting background images that are not distracting or make it hard to read the content on your WordPress blog. A background should enhance the user experience and help deliver your message to visitors.

It’s also important to choose a background image that’s mobile friendly and won’t impact your website speed. Otherwise, it will hurt your WordPress SEO.

That said, let’s look at different ways you can add a WordPress background image. We’ll cover multiple methods including the use of the WordPress theme customizer, full site editor, a plugin, theme builder, and more.

Simply click a link below to jump ahead to your preferred section:

Method 1. Add a Background Image Using Your WordPress Theme Customizer

Most popular WordPress themes come with custom background support. This feature allows you to easily set a background image, and we recommend this method if your theme supports it.

However, if your customizer menu option is missing, then your theme may have full site editing enabled. In the next section, we’ll cover how to use the full site editor to change your background image.

To use the Customizer, you need to visit the Appearance » Customize page in your WordPress admin. This will launch the WordPress theme customizer where you can change different theme settings while viewing a live preview of your website.

The WordPress theme customizer

An important thing to remember is that the options you see will vary based on the WordPress theme you’re using. For this tutorial, we are using the Astra theme.

If you’re using a different theme, then you may need to look up that theme’s documentation or contact the theme developer to find out how to add a background image if you can’t find it in the customizer.

In the Astra theme’s customizer options, you need to click on ‘Global’ in the panel to the left.

Go to global settings in Astra

After that, you’ll see different Global options to customize your Astra theme.

Go ahead and click into the ‘Colors’ section.

Click on colors options

Here, you can change the theme colors, including the background color. You can also customize your links, body text, headings, borders, and more.

To add a background image, scroll down to the ‘Surface Color’ section. Then you can click on the ‘Site Background’ option and switch to the ‘Image’ tab.

Select a background image

After that, simply click the ‘Select Background Image’ button.

This will bring up the WordPress media library, where you can upload an image from your computer or select one you have previously uploaded.

Upload media to WordPress

After you have chosen the image for your background, you need to click on the ‘Select’ button.

This will close the media popup, and you will see a preview of your selected background image in the theme customizer.

Save your background image

Don’t forget to click on the ‘Publish’ button at the top to store your settings.

That’s all. You have successfully added a background image to your WordPress site. Go ahead and visit your website to see it in action.

Method 2. Add a Custom Background Image Using Full Site Editor

If you’re using a block-based WordPress theme, then you can add a custom background image using the full site editor (FSE).

The full site editor allows you to edit your website design using blocks. It is just like editing a blog post or page using the WordPress block editor.

For this tutorial, we’ll use the default Twenty Twenty-Two theme. To launch the full site editor, simply go to Appearance » Editor from your WordPress dashboard.

Go to full site editor

Once you’re in the full site editor, you’ll need to add a Cover block to your template to upload a background image.

Simply click the ‘+’ sign at the top and add a Cover block.

Add a cover block to theme template

Go ahead and click ‘Upload’ or ‘Media Library’ button in the Cover block to add a background image to the block.

This will open the WordPress media uploader popup.

Upload your image to cover block

You can choose an image that you’d like to use as the website background.

When you have chosen the image, simply click on the ‘Select’ button.

Upload media to WordPress

Once the image is added to the Cover block, the next step is to set it as the background of the page.

To do so, click on the List View icon at the top (icon with 3 dashes) to open an outline view of theme elements, such as the site header and footer.

Open list view in FSE

After that, simply drag and drop all the template elements under the Cover block in the list view.

When they are all under there, the Cover block’s image will show up as the site’s background.

Add theme parts to cover block

After that, you can adjust the background image by clicking into the Cover block and selecting the gear icon in the top right corner of the screen. This opens the Block settings panel.

You will find options to make the image a fixed background, repeated background, adjust its overlay, edit the color, and more.

Edit background image settings

When you’re done, don’t forget to click the ‘Save’ button.

That’s it! You’ve successfully added a background image using the full site editor.

Method 3. Add Background Image Using WordPress Theme Builder

Another way you can add custom background images to your website is by using a WordPress theme builder like SeedProd.

It is the best WordPress landing page plugin and website builder. You get drag and drop functionality to easily customize your website design without touching a single line of code.

For this tutorial, we’ll use the SeedProd Pro version because it includes the theme builder. There is also a SeedProd Lite version that you can try for free.

First, you’ll need to install and activate the SeedProd plugin. If you need help, then please see our guide on how to install a WordPress plugin.

Once the plugin is active, you’ll see the SeedProd welcome screen in your WordPress dashboard. Next, simply enter your license key and click the ‘Verify Key’ button. You can find the license key in your SeedProd account area.

SeedProd license key

Next, you’ll need to head to SeedProd » Theme Builder in your WordPress admin panel.

Go ahead and click the ‘Themes’ button at the top.

Create your custom theme

SeedProd will now offer multiple theme templates to choose from.

You can hover over any template that you’d like to use and click on it. Let’s use the ‘Starter’ theme template for this tutorial.

Choose a starter theme

From here, SeedProd will generate different templates such as the homepage, single post, single page, sidebar, header, and more.

To add a background image that appears on the entire website and on all the theme templates, go ahead and click the ‘Edit Design’ option under Global CSS.

Edit global CSS

On the next screen, you’ll see global CSS settings you can change.

Simply click on the ‘Background’ option.

Open background settings in SeedProd

After that, you’ll see the Background Image options.

Go ahead and click the ‘Use Your Own Image’ button to upload your picture or click the ‘Use a Stock Image’ button to search for a stock image to use as your website background.

Add a background image in SeedProd

Once you’ve added a background image, the SeedProd builder will display a live preview.

The plugin also offers options to change the Background Position. You can choose whether you’d like to use the full screen cover, put it on repeat, and more.

Plus, you can edit how dark the background image should be by moving the ‘Dim Background’ slider. The higher the score, the darker the image will be.

Change image position and dim settings

When you’re done editing the background image, simply click the ‘Save’ button at the top and close the Global CSS Settings.

If you want to add a custom background image for different parts of your website, then you can edit those individual theme templates in SeedProd.

For more details, please see our guide on how to easily create a custom WordPress theme.

Method 4. Add a Custom Background Image in WordPress Using a Plugin

Using a WordPress plugin to add a background image is a lot more flexible than built-in WordPress options.

To begin, you need to install and activate the Full Screen Background Pro plugin. For more details, see our step-by-step guide on how to install a WordPress plugin.

This plugin will let you set a different background for any post, page, category, and more. Plus, they will automatically be full-screen and adjust themselves for mobile devices.

Upon activation, you need to visit Appearance » Fullscreen BG Image to configure the plugin settings.

Enter full screen background license

You will be asked to add your license key. You can get this information from the email you received after buying the plugin or from your account on the plugin’s website.

Next, you need to click on the ‘Save Options’ button to activate your key. You are now ready to start adding background images to your WordPress site.

Go ahead and click on the ‘Add New Image’ button on the plugin’s settings page.

Add a new image

You should now see the background image upload screen.

Click on the ‘Choose Image’ button to upload or select an image. As soon as you select the image, you will be able to see a live preview of the image on your screen.

Add background image

Next, you need to provide a name for this image. This name is just for you, so you can type anything here. Finally, you need to select where you want to use this as the background page.

Once you have chosen whether it will be the background for the whole site, for posts, categories, archives, or elsewhere, don’t forget to save your changes.

You can add as many images as you want to different areas of your site by visiting the Appearance » Fullscreen BG Image page and repeating this process.

If you set more than one image to be used globally or for posts, pages, and categories, then the plugin will automatically start displaying background images as a slideshow.

You can adjust the time it takes for an image to fade out and the time after which a new background image starts to fade in the plugin Settings.

Set fadein effect time

The time you enter here is in milliseconds. 1 second is 1000 milliseconds. If you want a background image to fade out after 20 seconds, then you will need to enter 20000.

Don’t forget to click on the ‘Save Options’ button to store your changes.

Background Images for Posts, Pages, and Categories

Full Screen Background Pro also allows you to set background images for single posts, pages, categories, tags, and more.

Just edit the post/page where you want to display a different background image. On the post edit screen, you will notice the new ‘Full Screen Background Image’ box below the post editor.

Full screen background image metabox

To use a background image for categories, posts, and pages, you need to visit the Appearance » Fullscreen BG Image page and then click on the ‘Add New Image’ button.

After uploading your image, you can select a category, posts, pages, archives, and other options from the ‘Choose the context on which to display this image’ dropdown menu.

Let’s say you want to show a background image for category pages. For this, simply select ‘Category’ from the dropdown menu.

Add background image to categories

The plugin also offers an option to restrict the background image to specific categories, posts, and pages.

For example, if you want to add a custom background image for specific categories, then simply enter the category names under the ‘Select the Categories to restrict images to’ field.

Don’t forget to save your image to store your settings.

You’ve now successfully added a background image for specific posts, pages, and categories.

Method 5. Add Background Images Using CSS Hero

CSS Hero is a WordPress plugin that allows you to make any changes to your theme without touching a single line of code.

You can add background images quickly in a few simple steps. First, you need to install and activate CSS Hero. For more details, please see our guide on how to install a WordPress plugin.

Once you’ve done that, it’s time to start customizing your website. Now open up your homepage in your browser. You’ll see the ‘Customize with CSS Hero’ link in your admin bar.

Customize with CSS hero

After you click that link, you’ll see the CSS Hero options open up. Hover your mouse over the area you want to add an image to.

When you click the selected area, you can see the ‘Background’ option in the left sidebar.

Click the background option in CSS hero

Go ahead and click ‘Background’ to see the settings for adding an image.

From there, you can click on ‘Image.’ Now, you can choose an image from Unsplash or upload your own to create your background.

Apply image and save

When you click on the image you want, you’ll see the ‘Apply Image’ button. Then you can choose what size you want your image to be. You can choose the large version so it will stretch across the page.

Hit ‘Save and Publish’ at the bottom to save the background image for your site.

Method 6. Add Custom Background Images Anywhere in WordPress Using CSS Code

By default, WordPress adds several CSS classes to different HTML elements throughout your WordPress site. You can easily add custom background images to individual posts, categories, authors, and other pages using these WordPress generated CSS classes.

For example, If you have a category on your website called TV, then WordPress will automatically add these CSS classes to the body tag when someone views the TV category page.

<body class="archive category category-tv category-4">

You can use the inspect tool to see exactly which CSS classes are added by WordPress to the body tag.

Inspect body classes

You can use either category-tv or category-4 CSS class to style just this category page differently.

Let’s add a custom background image to a category archive page. You will need to add this custom CSS to your theme.

body.category-tv {
background-image: url("http://example.com/wp-content/uploads/2017/03/your-background-image.jpg");
background-position: center center;
background-size: cover;
background-repeat: no-repeat;
background-attachment: fixed;
}

Don’t forget to replace the background image URL and the category class with ones from your own site.

You can also add custom backgrounds to individual posts and pages. WordPress adds a CSS class with the post or page ID in the body tag. You can use the same CSS code, just replace .category-tv with the post-specific CSS class.

Inspect element to see post ID

We hope this article helped you learn how to add a background image in WordPress. You may also want to see our guide on how to start an online store and the best website design software.

If you liked this article, then please subscribe to our YouTube Channel for WordPress video tutorials. You can also find us on Twitter and Facebook.

The post How to Add a Background Image in WordPress (6 Easy Ways) first appeared on WPBeginner.


August 11, 2022 at 01:00PM